

Railpack Builder
Introduced in v1.9.0
Railpack is the new version of Nixpacks by Railway, still open source. The benefits over Nixpacks are faster builds and smaller image sizes. The Railpack builder support all the same options as the Nixpacks builder.
The Railpack builder is in bêta for now, as a v1 of railpack hasn’t been released yet.
How to create a service with railpack
Section titled “How to create a service with railpack”You can specify the Railpack builder when creating your service or modify the builder at any moment in the service’s settings.
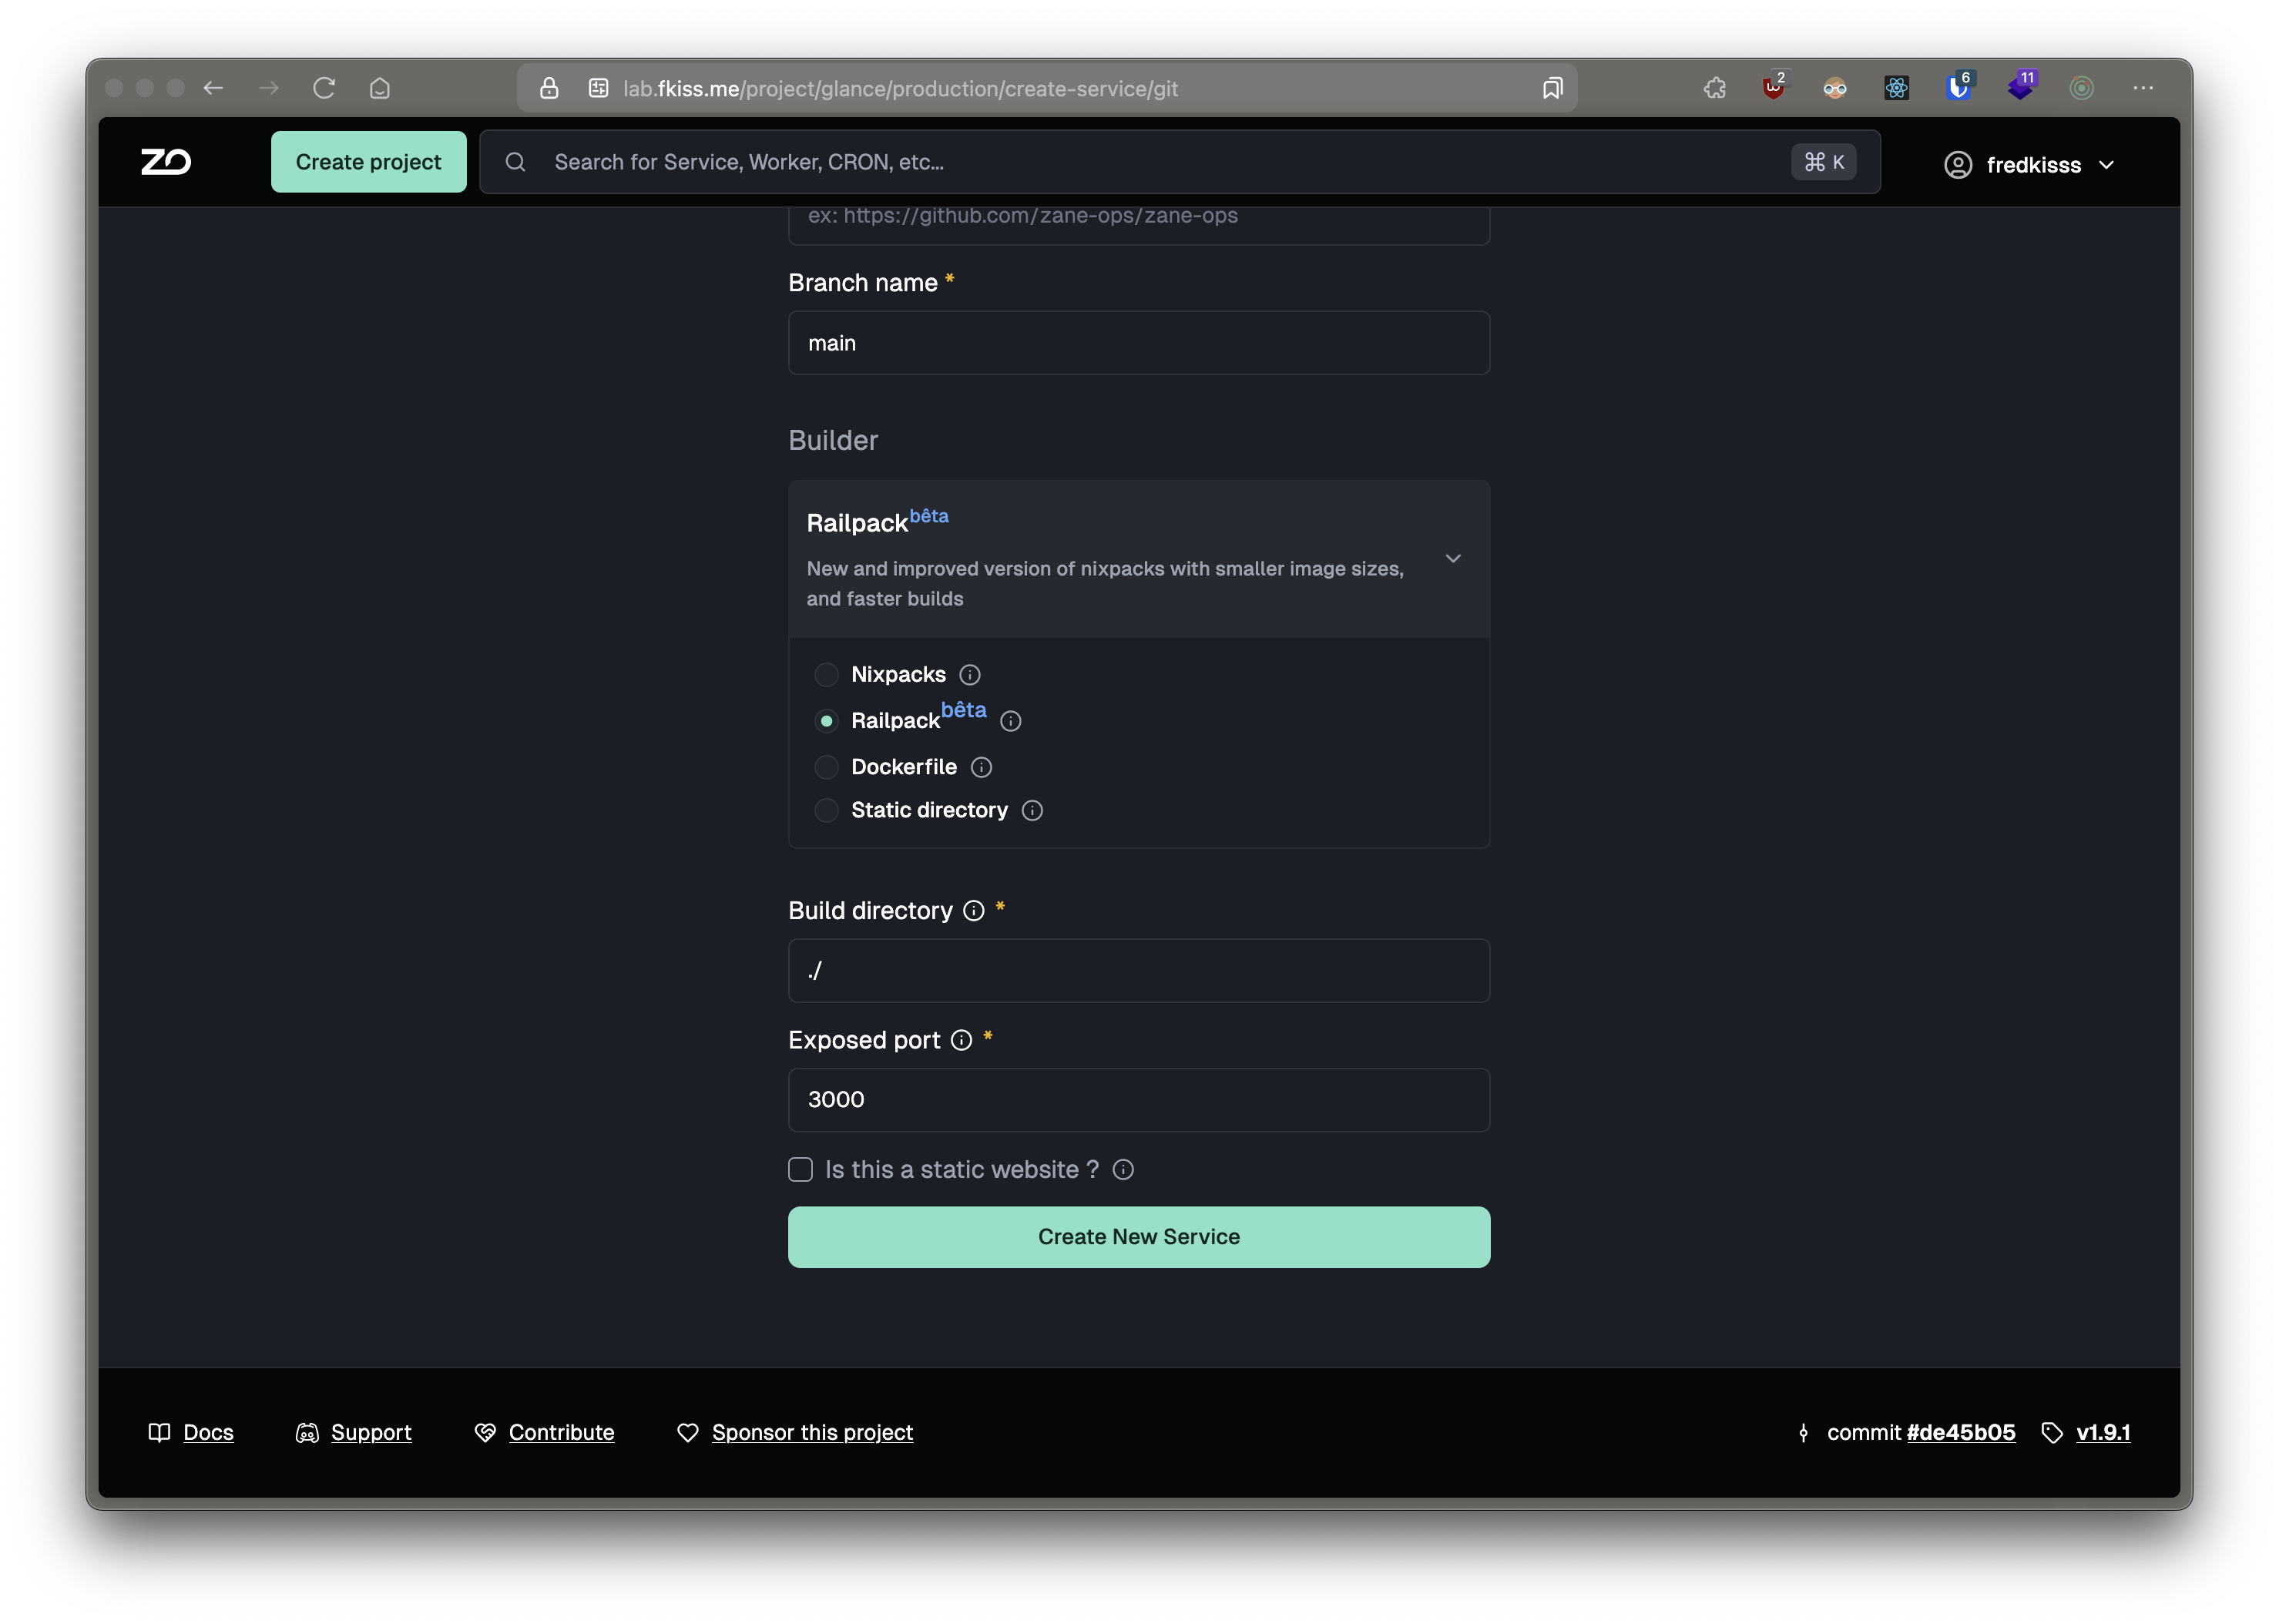
- You need to specify a build directory, where Railpack will detect and build your application, relative to the root of your repository
- You can specify custom install, build and start commands to configure Railpack and override the auto-generated
commands by Railpack

Static websites
Section titled “Static websites”The Railpack builder support deploying static websites, when deploying a static website with ZaneOps, it will be built as a service using a caddy on alpine image, with your build assets copied exposed as a file server. For that you need to check the static website checkbox and specify a publish directory relative to the build directory.
- You can also specify the path for a custom not found page, relative to the published directory, used for handling all 404 errors.
- If your app is a Single Page Application (SPA), you can check the box and specify the location of index.html page to redirect requests to, the Not found page is ignored as all requests will be sent to the index.html page instead.
Overriding the default Caddyfile
Section titled “Overriding the default Caddyfile”When updating your options in the UI, ZaneOps will show you a preview of the generated Caddyfile that will be used to expose the static
assets generated by your app.

You can override the generated file by providing a Caddyfile at the root of your build directory. When specifying this, ZaneOps use it over the default generated one. With this you can add things like caching or simple HTTP basic authentication to your static websites.
When specifying a custom Caddyfile, you can use :
- the environment variable
$PUBLIC_ROOTas the root for static files - the environment variable
$PORTas the port for exposing your app
Here is A fully working example of a custom Caddyfile :
# expose your app to $PORT and use 80 if undefined:{$PORT:80} { # Set the root directory for static files root * {$PUBLIC_ROOT} # Serve static files file_server # Add `cache-control` header to static assets, images and videos @assets { path_regexp assets \.(css|js|png|jpg|jpeg|gif|svg|woff|woff2|eot|ttf|otf|mp4)$ } header @assets Cache-Control "public, max-age=31536000, immutable" # For all 404 errors, show a custom page handle_errors { @404 { expression {http.error.status_code} == 404 } rewrite @404 ./404/index.html file_server }}Configuring railpack
Section titled “Configuring railpack”Alongside the custom install/build/start commands, you can configure railpack by passing all environment
variables supported by railpack, they all starts with RAILPACK_.
You can find the common Railpack environment variables here : https://railpack.com/config/environment-variables
For specific environment variables related to the provider detected by Railpack, you will need to refer to the docs for that provider.
For ex, you can override the node version with RAILPACK_BUN_VERSION for the Node provider : https://railpack.com/languages/node
Here is an example of environment variables you can add :
RAILPACK_DEPLOY_APT_PACKAGES="wget,git" # install wget & git with apt-get and persist it at build timeRAILPACK_BUN_VERSION=" 1.2.10" # install bun `1.2.10`Default Environment variables
Section titled “Default Environment variables”when building with nixpacks, we will pass a default environment variable FORCE_COLOR=true for coloring build outputs.