React Router v7 app with SSR
Introduction
Section titled “Introduction”React Router v7 has evolved into a comprehensive full-stack web framework that prioritizes user interface development while leveraging web standards to create fast, responsive, and resilient applications. This guide walks you through deploying a React Router v7 application on ZaneOps.
Live demo
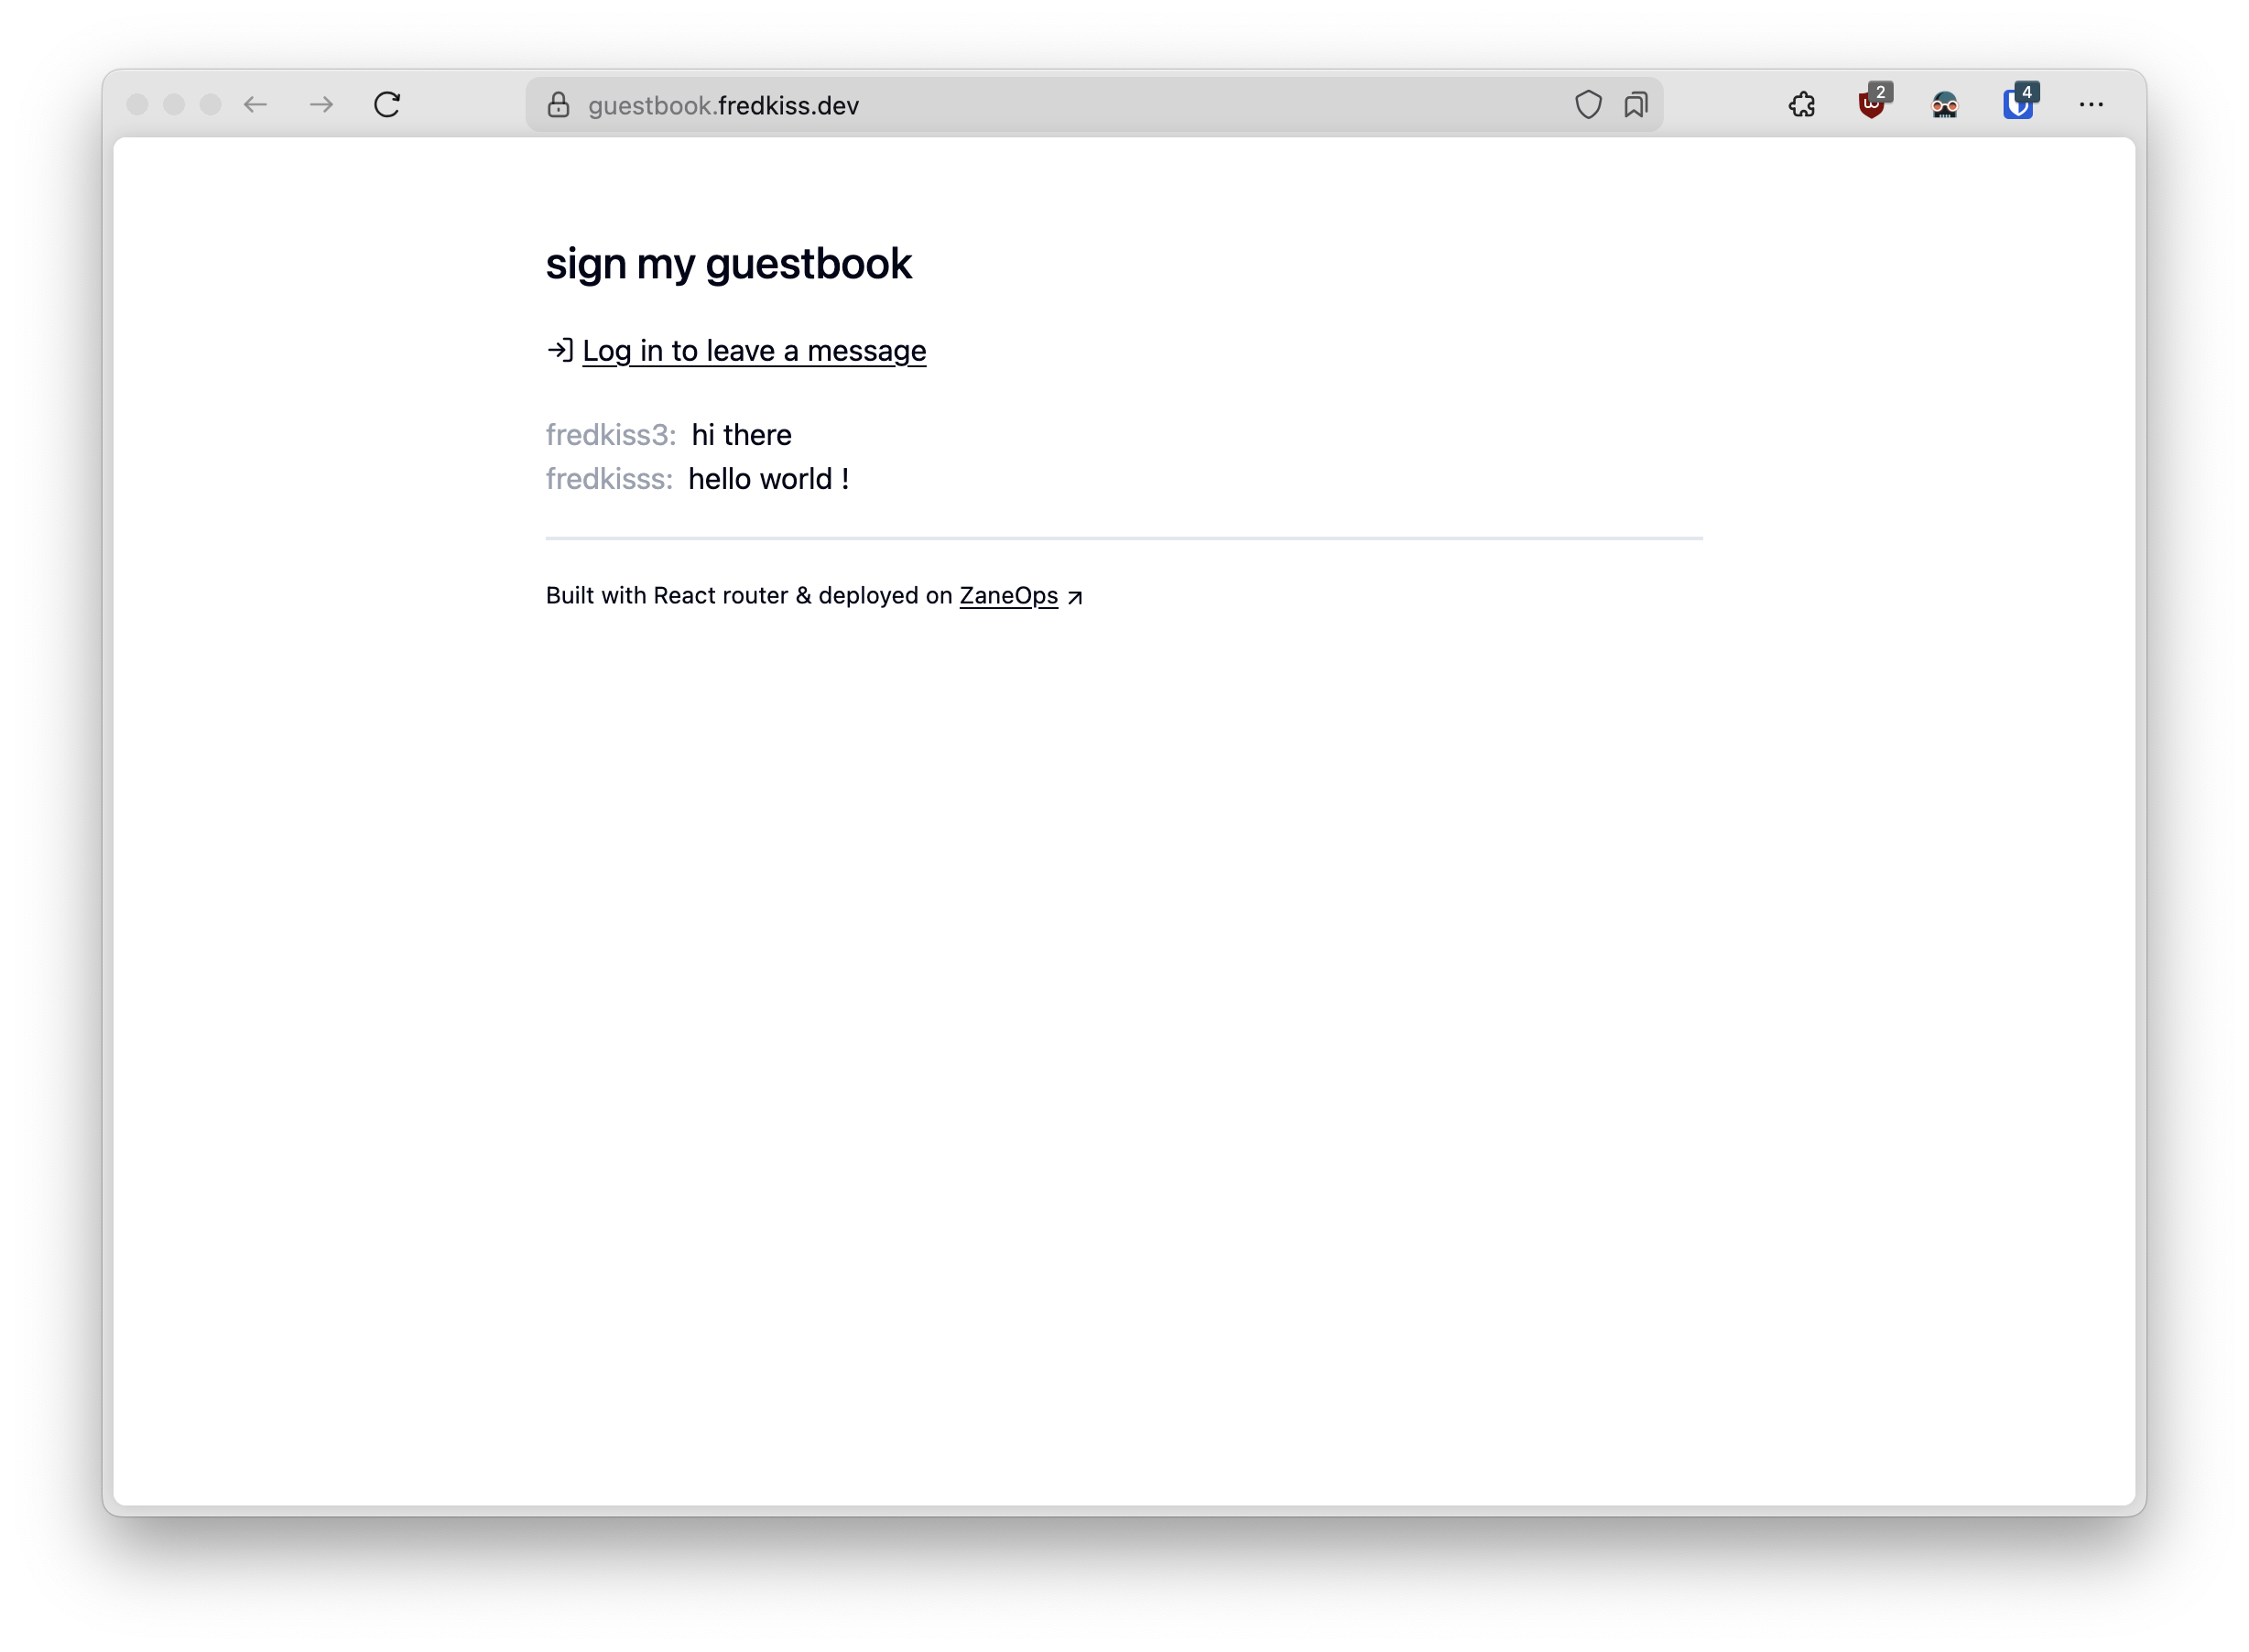
Section titled “Live demo”You can find a production version of this application at: https://guestbook.fredkiss.dev
Prerequisites
Section titled “Prerequisites”- A working ZaneOps instance. If you need help with installation, refer to our ZaneOps setup guide.
Deployment Process
Section titled “Deployment Process”Project Overview
Section titled “Project Overview”We’ll be working with a fully-featured guestbook application built with React Router v7. You can clone or fork the repository:
git clone https://github.com/zane-ops/guestbook.gitThis application showcases several key features:
- Authentication: login/register with username+password with sessions stored in Redis
- Data persistence: Message storage in PostgreSQL with Drizzle ORM
- Modern architecture: Full server-side rendering with progressive enhancement (works even with JavaScript disabled)
Creating a ZaneOps Project
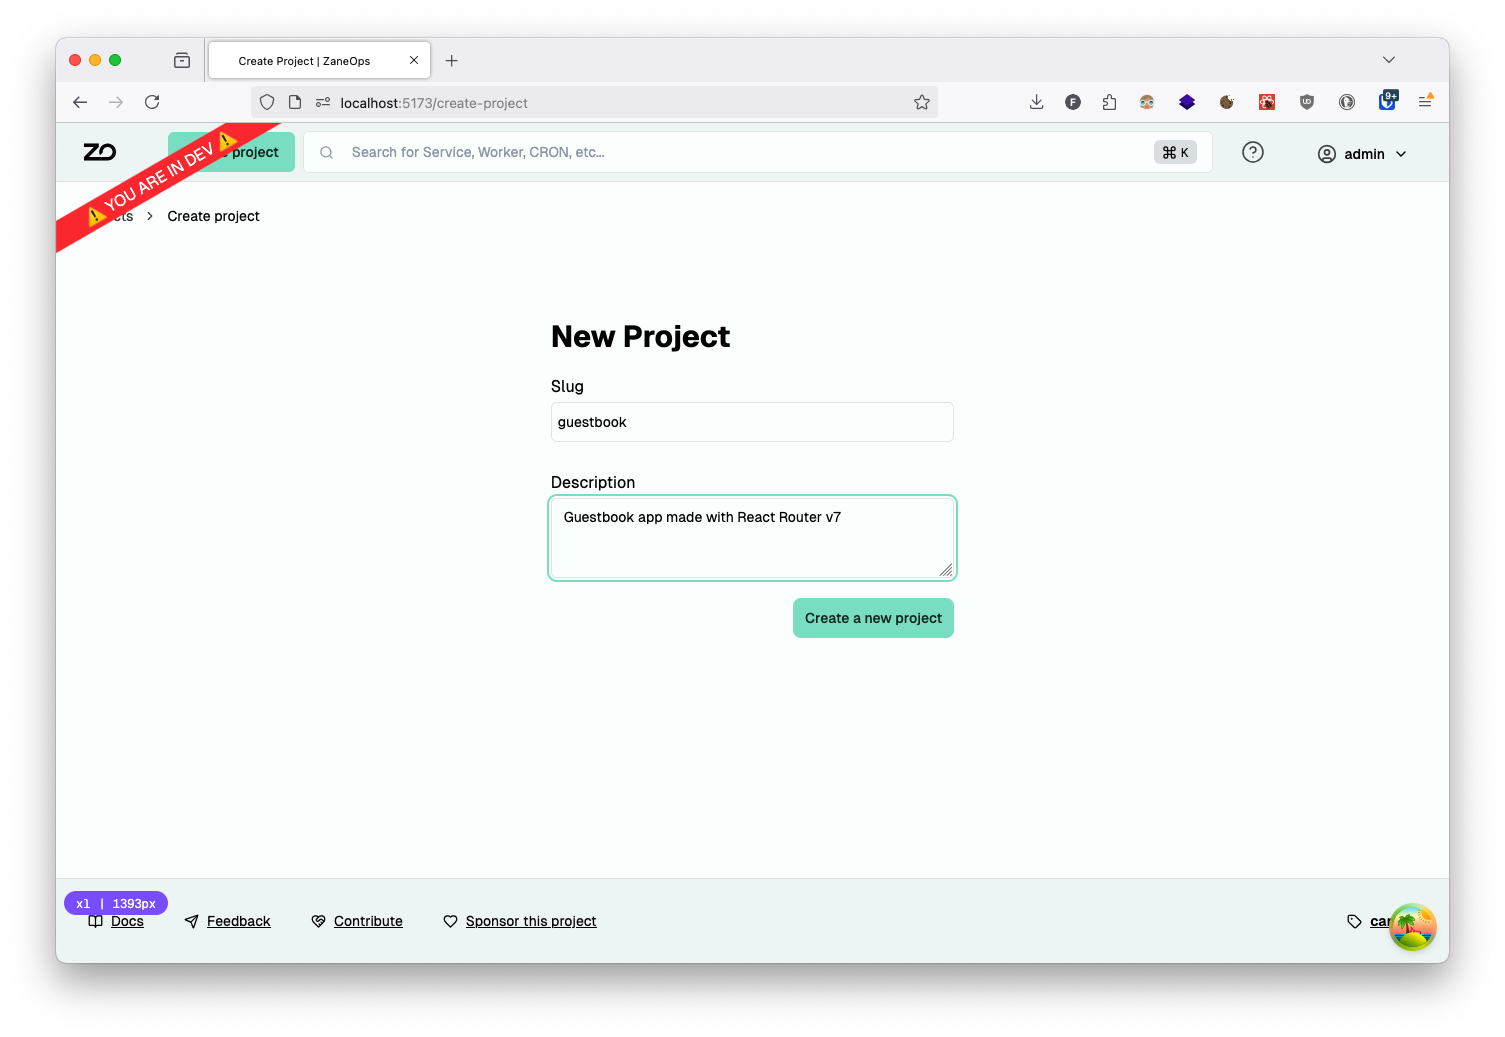
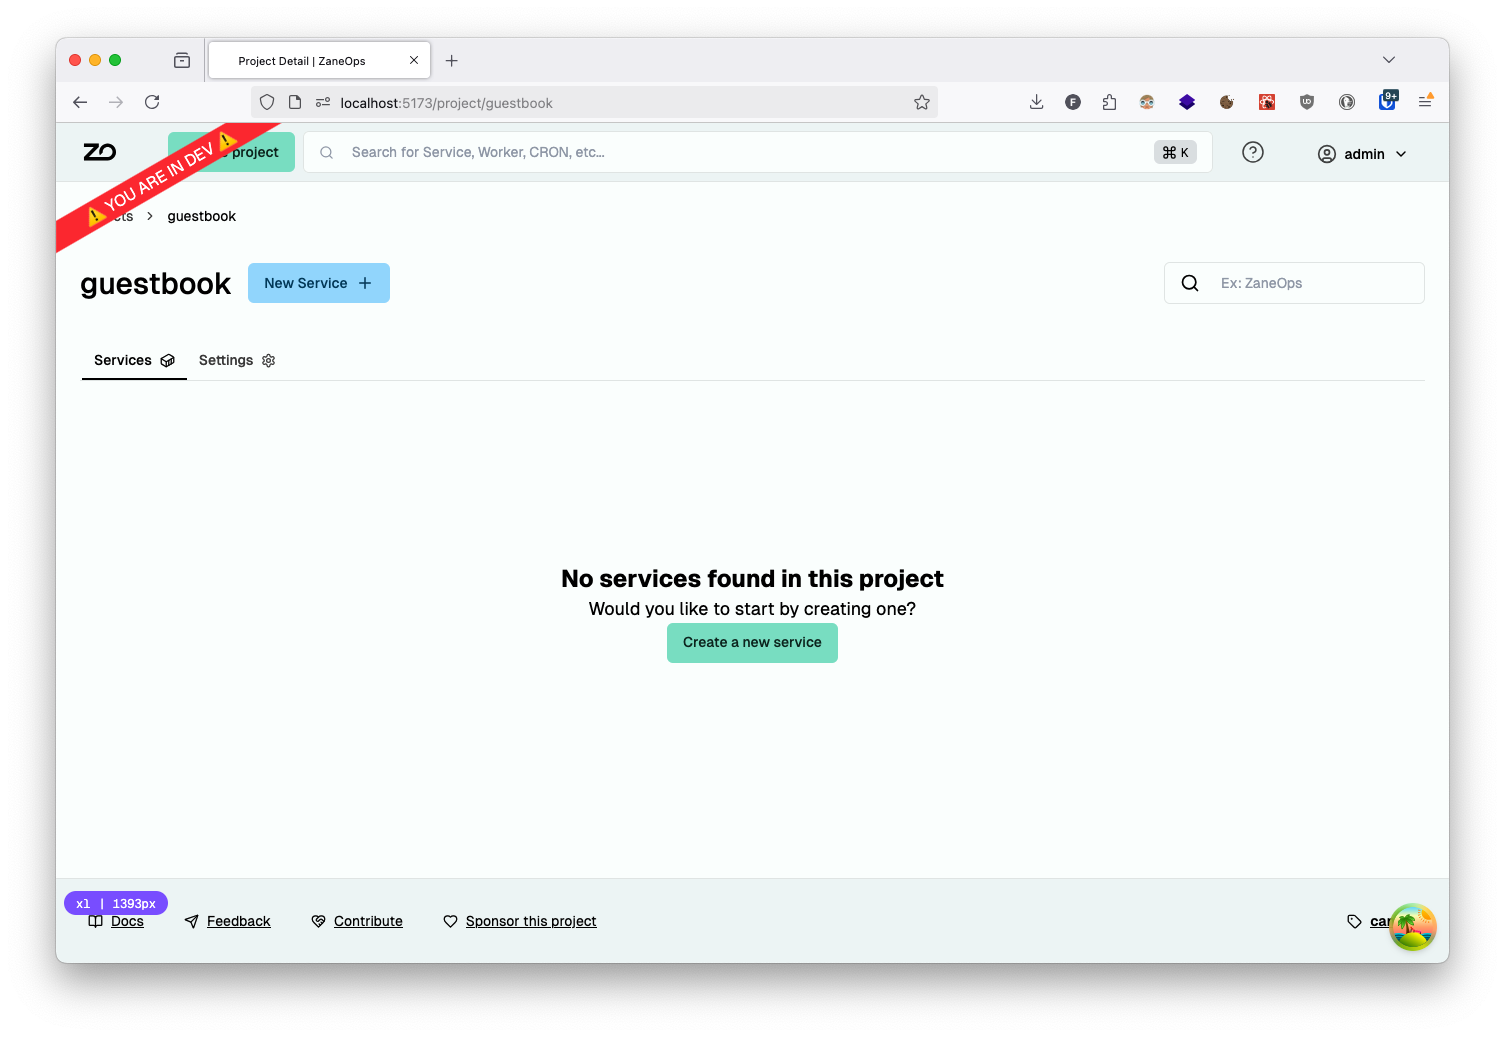
Section titled “Creating a ZaneOps Project”Log in to your ZaneOps dashboard and create a new project named guestbook:
Configuring Database and Caching Services
Section titled “Configuring Database and Caching Services”Setting up Redis with Valkey
Section titled “Setting up Redis with Valkey”First, we’ll create a Redis-compatible service using Valkey, an open-source Redis alternative:
- Create a Docker service with the
valkey/valkeyimage: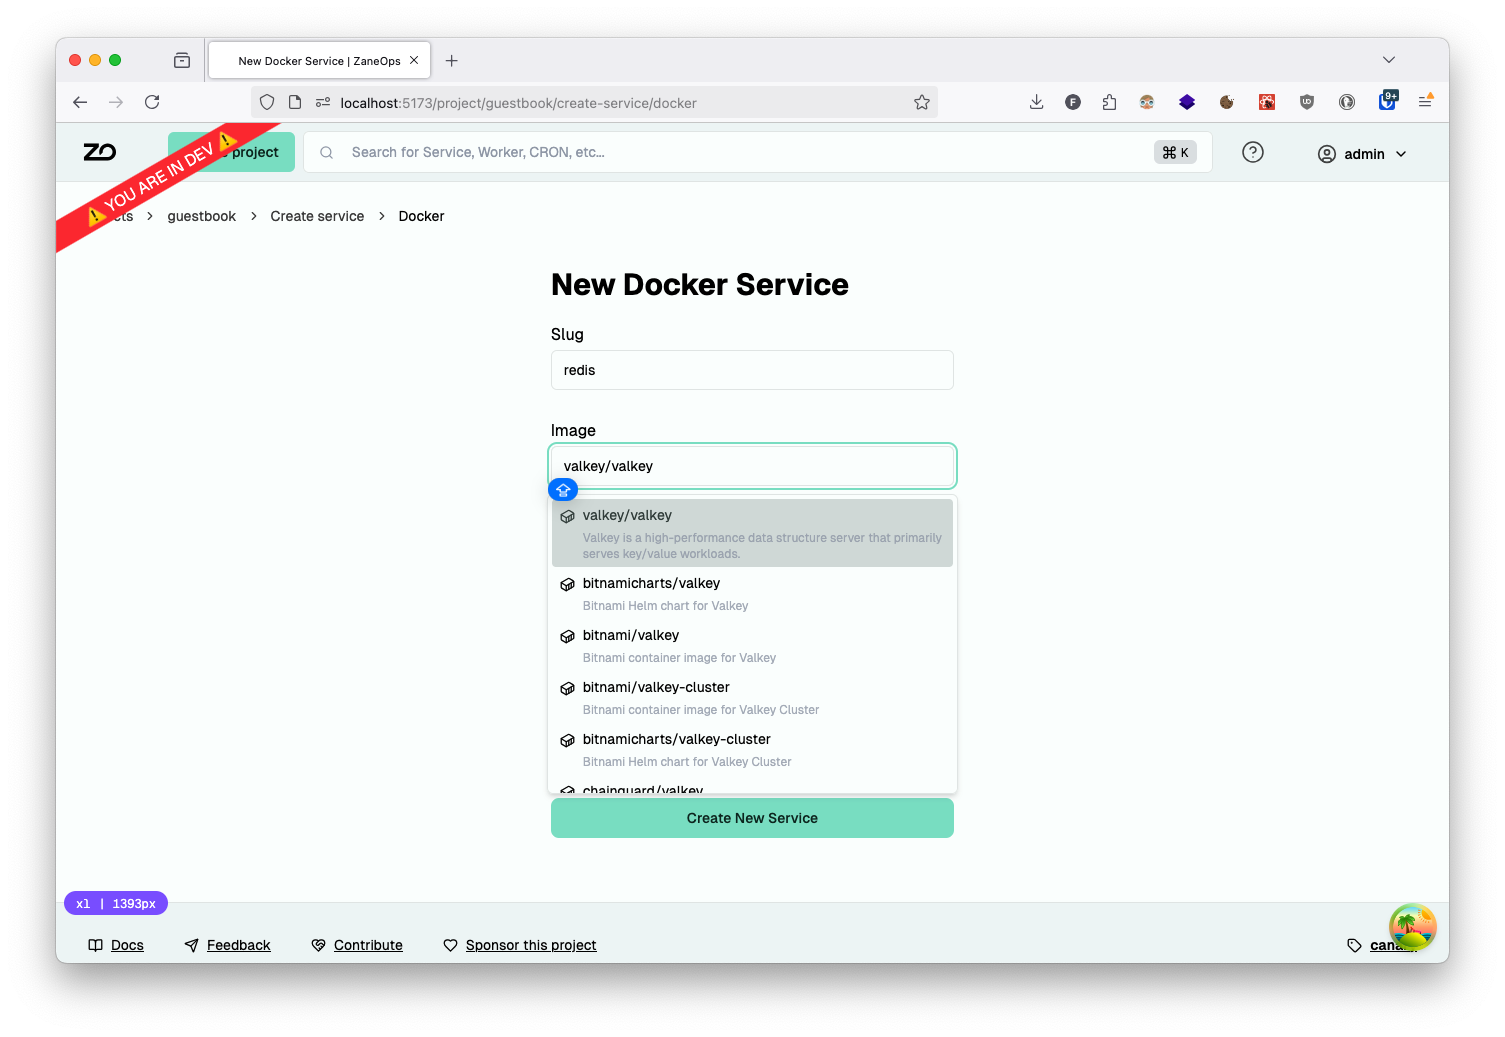
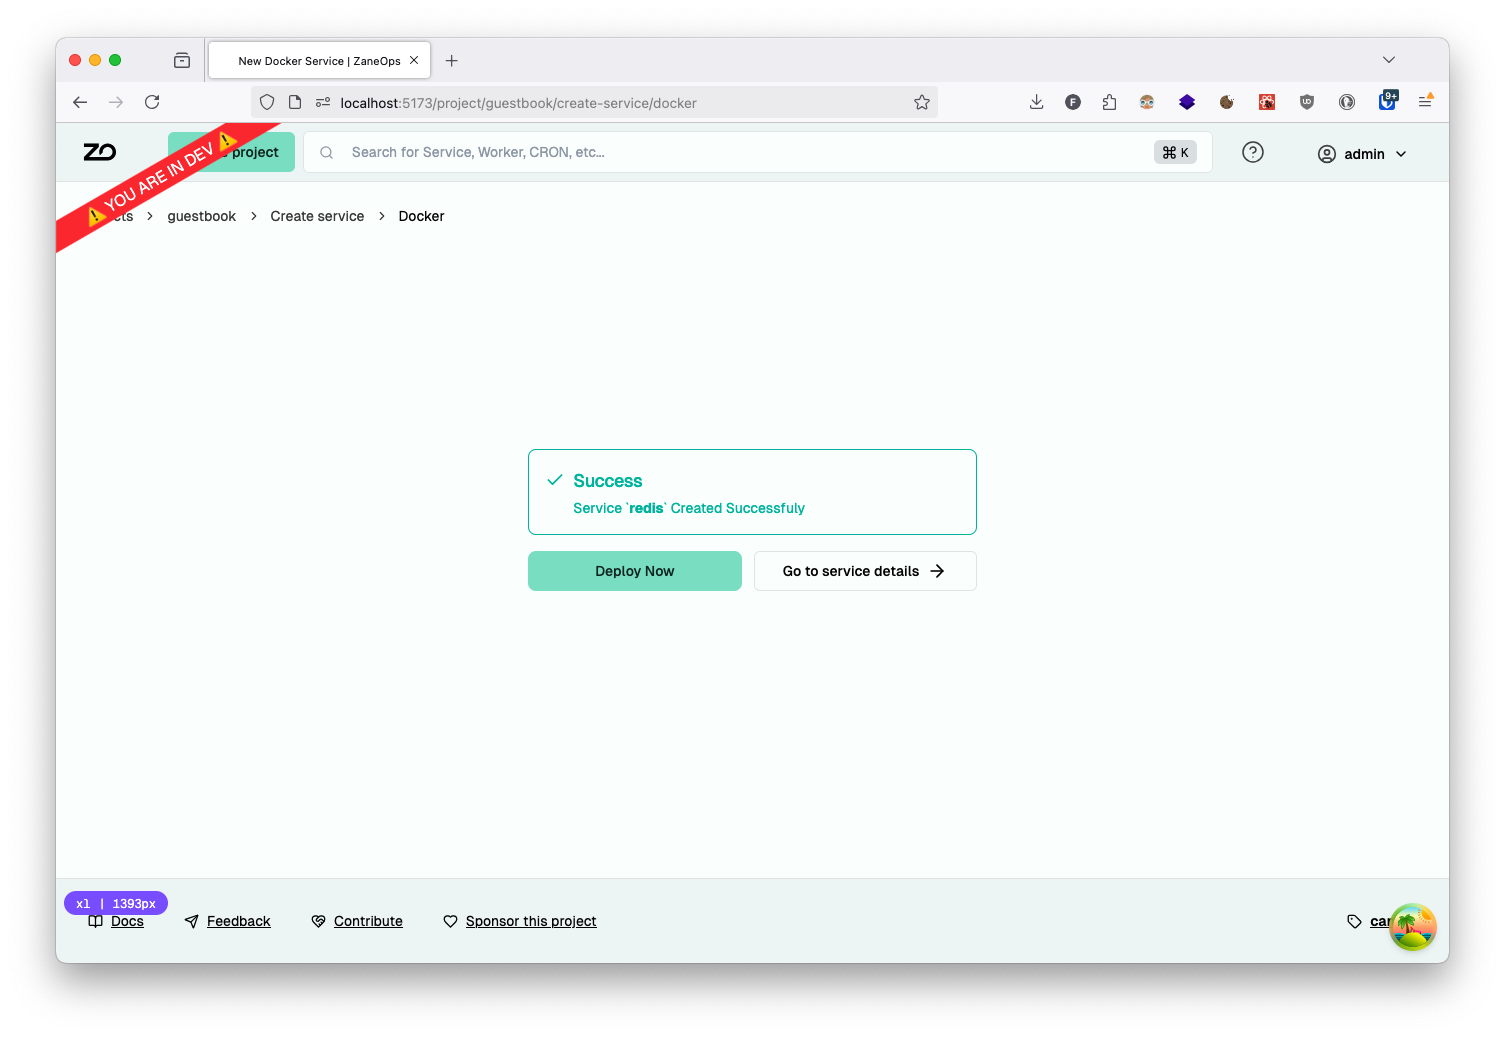
- Deploy the service:
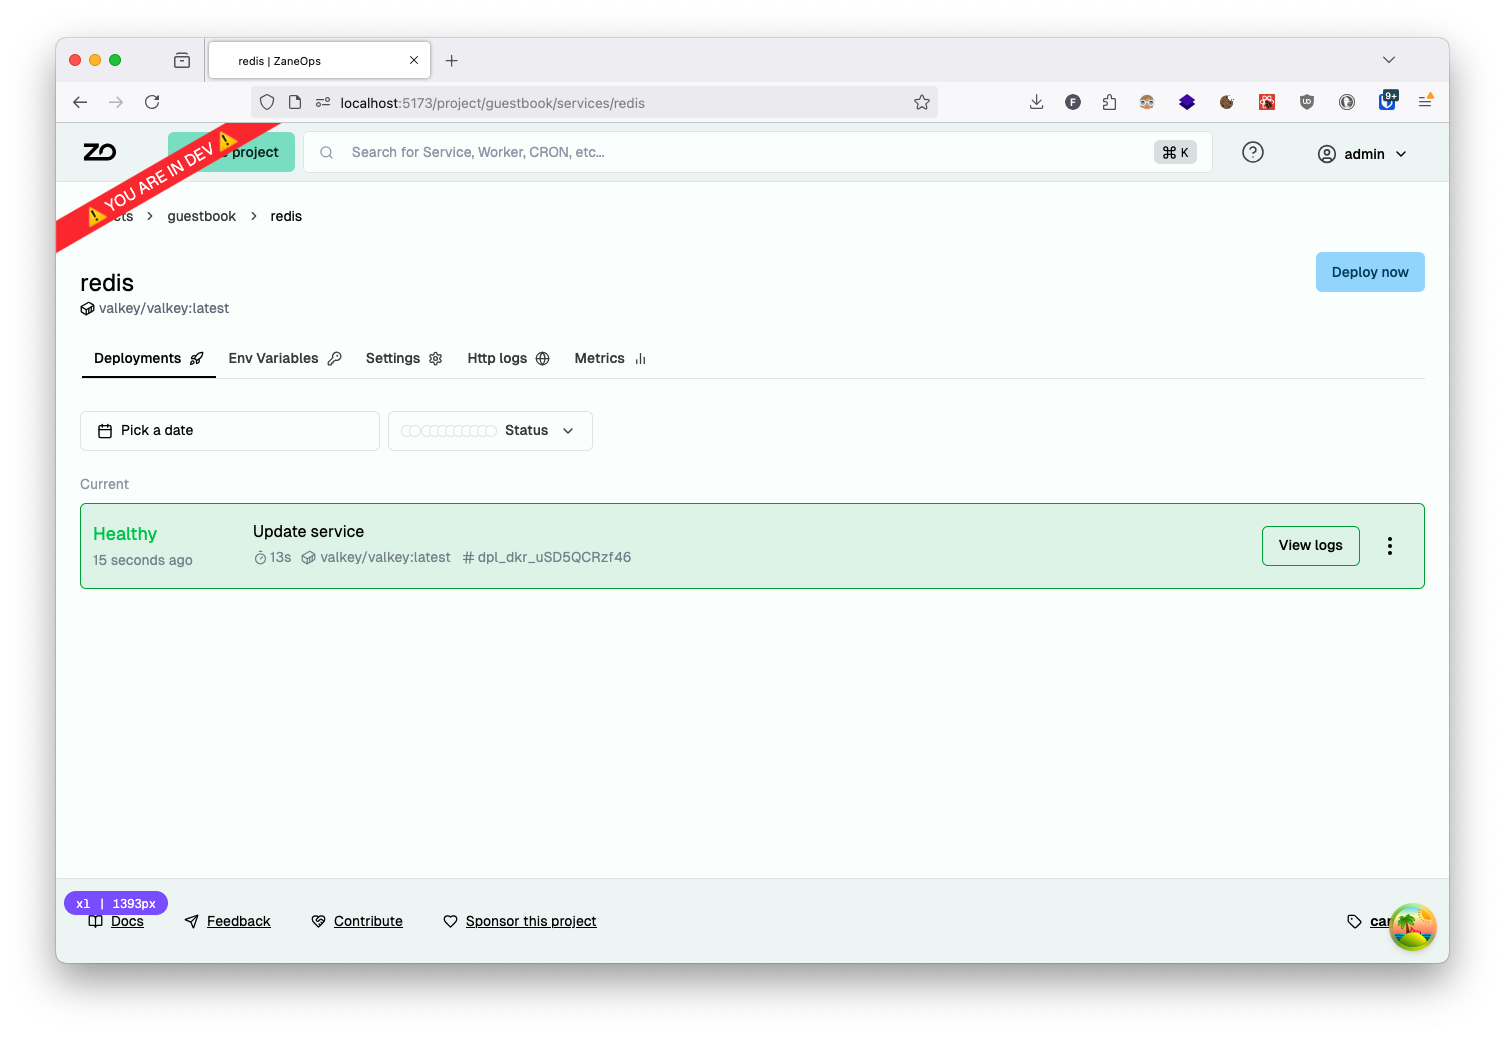
- Verify the deployment status on the service details page:
Setting up PostgreSQL
Section titled “Setting up PostgreSQL”Next, let’s configure a PostgreSQL database service:
-
Create a Docker service using the official
postgresimage: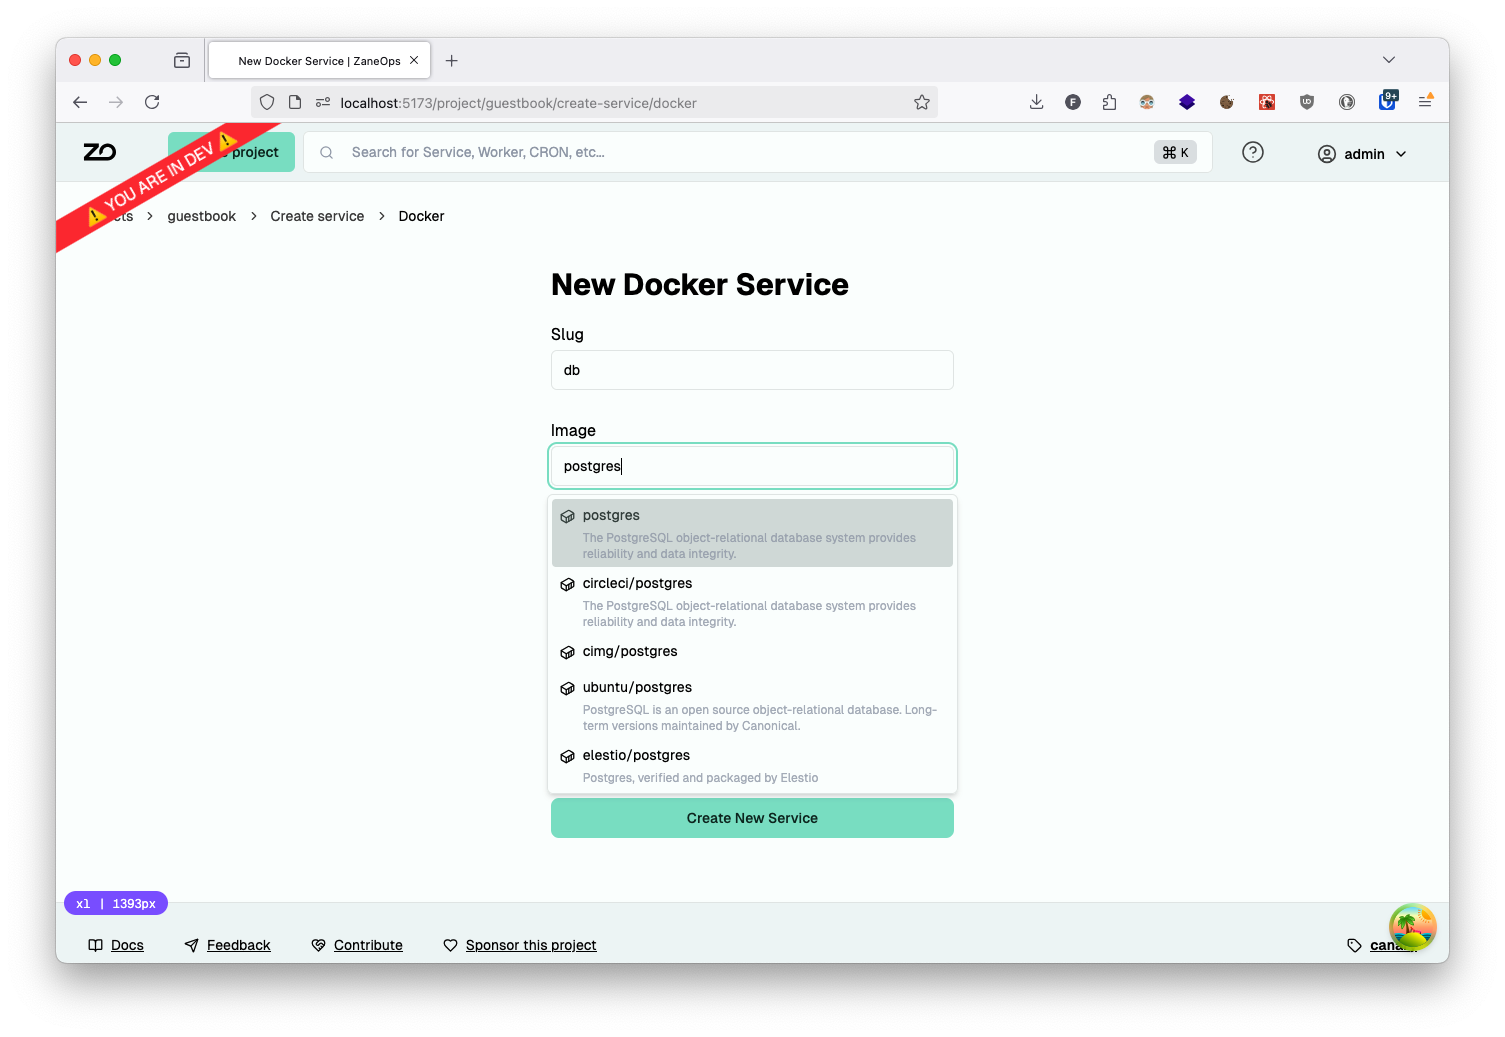
-
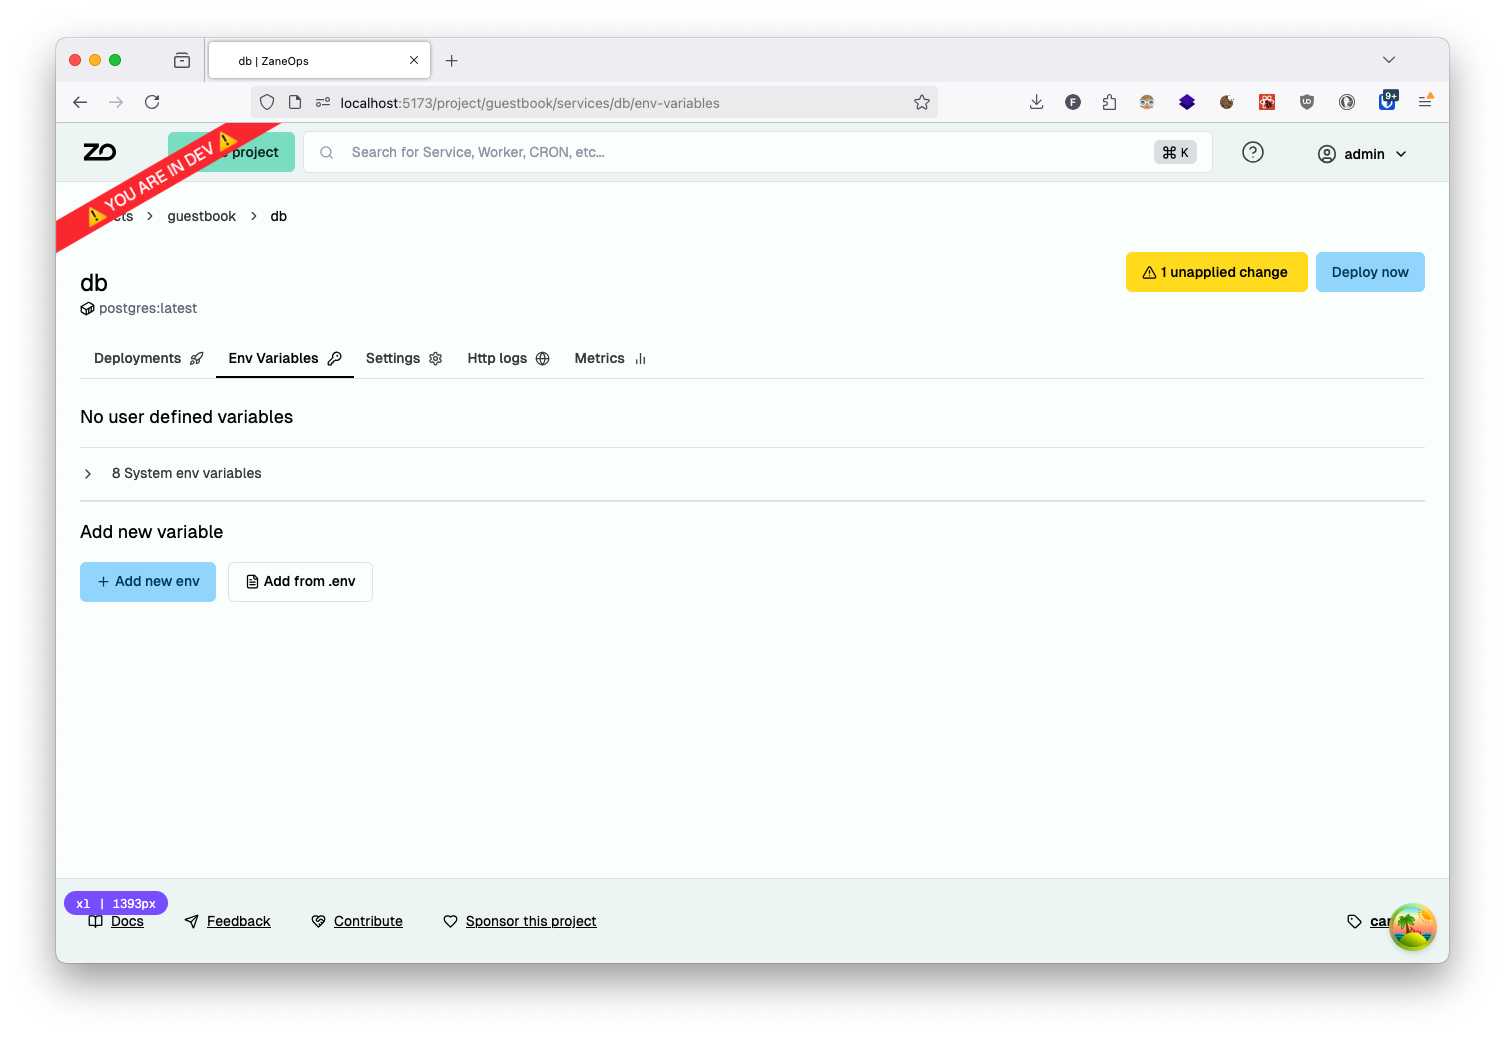
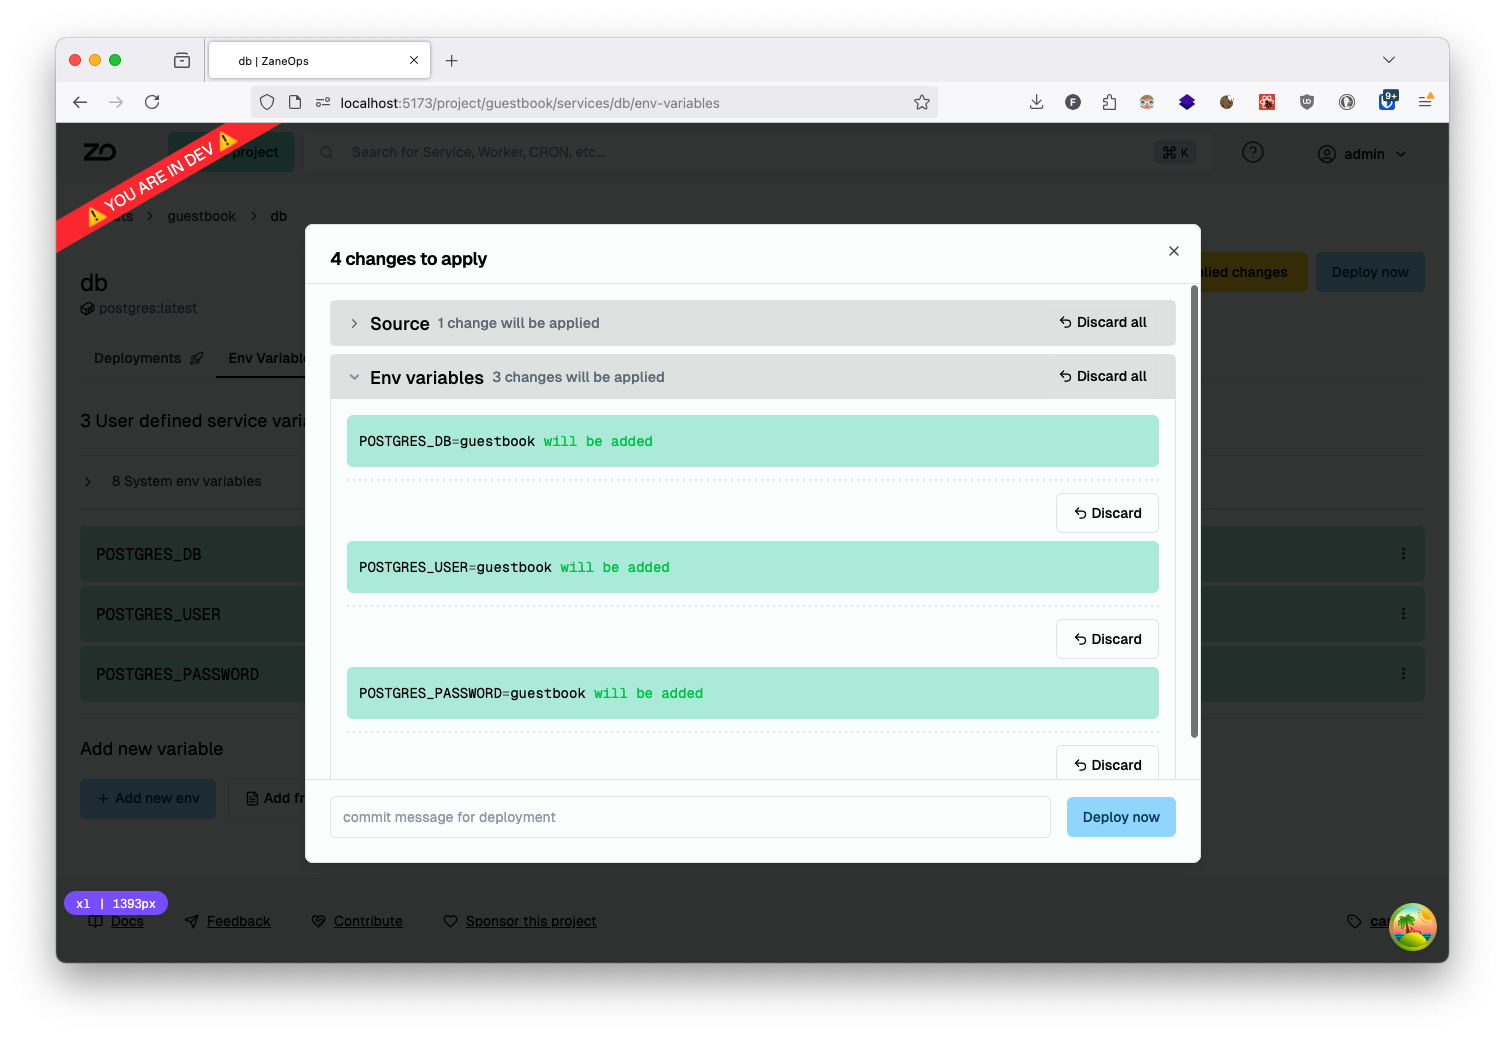
Configure the necessary environment variables by navigating to the service details page and selecting the environment variables tab:
-
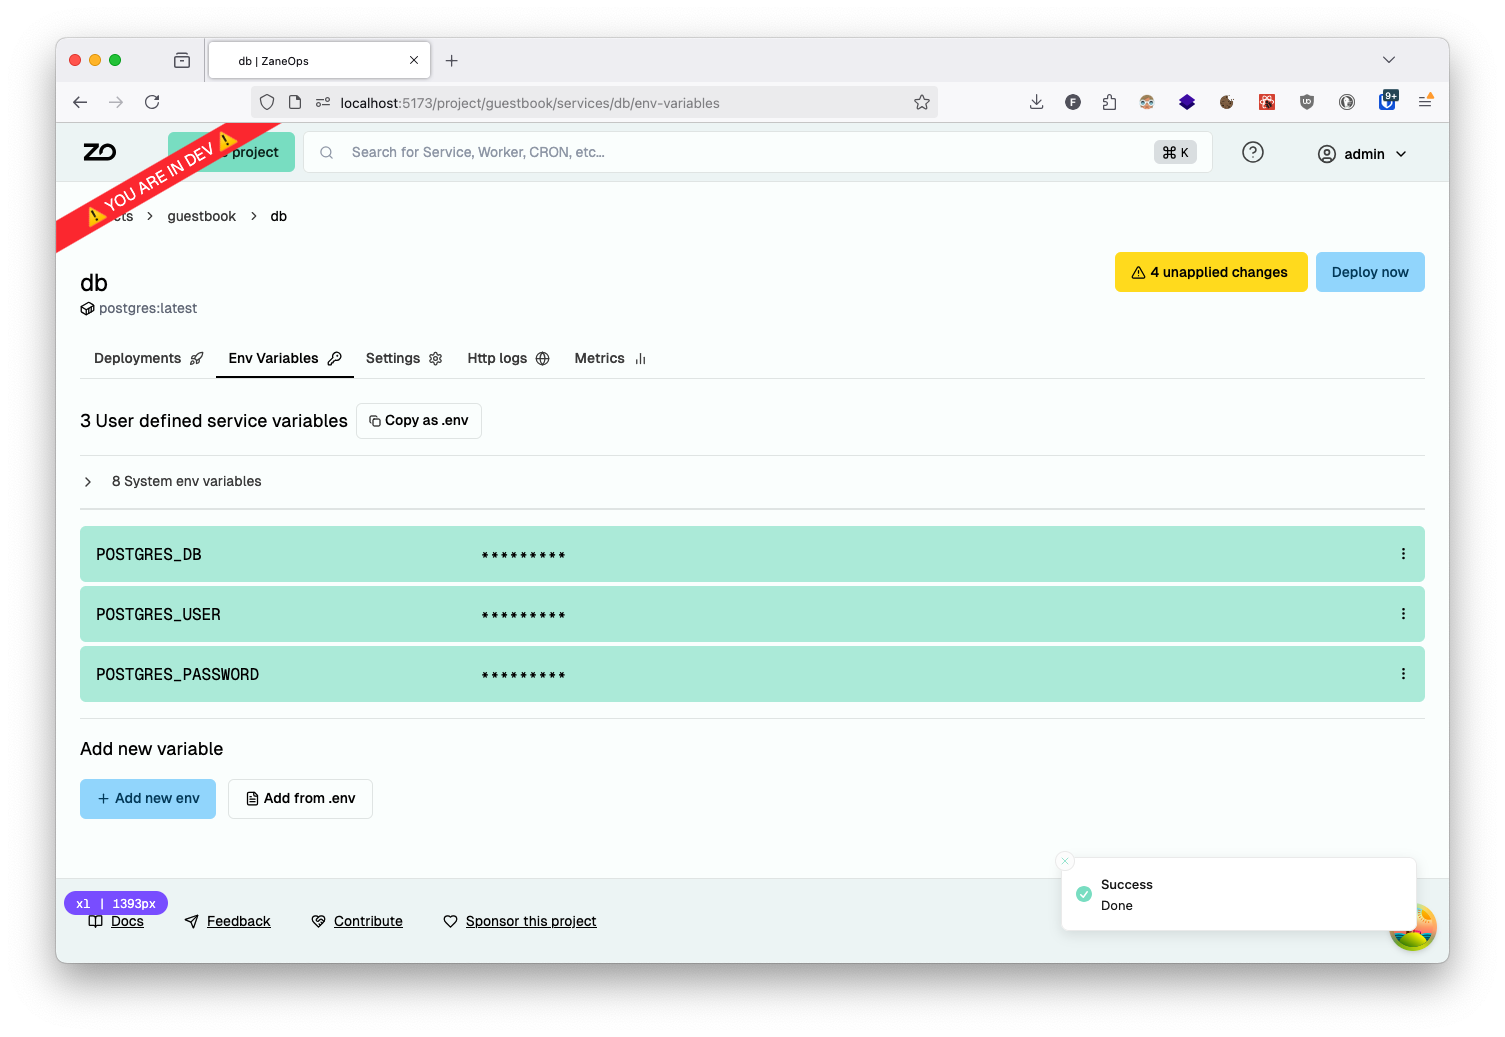
Click Add from .env and enter these database credentials:
Terminal window POSTGRES_DB="guestbook"POSTGRES_USER="guestbook"POSTGRES_PASSWORD="guestbook"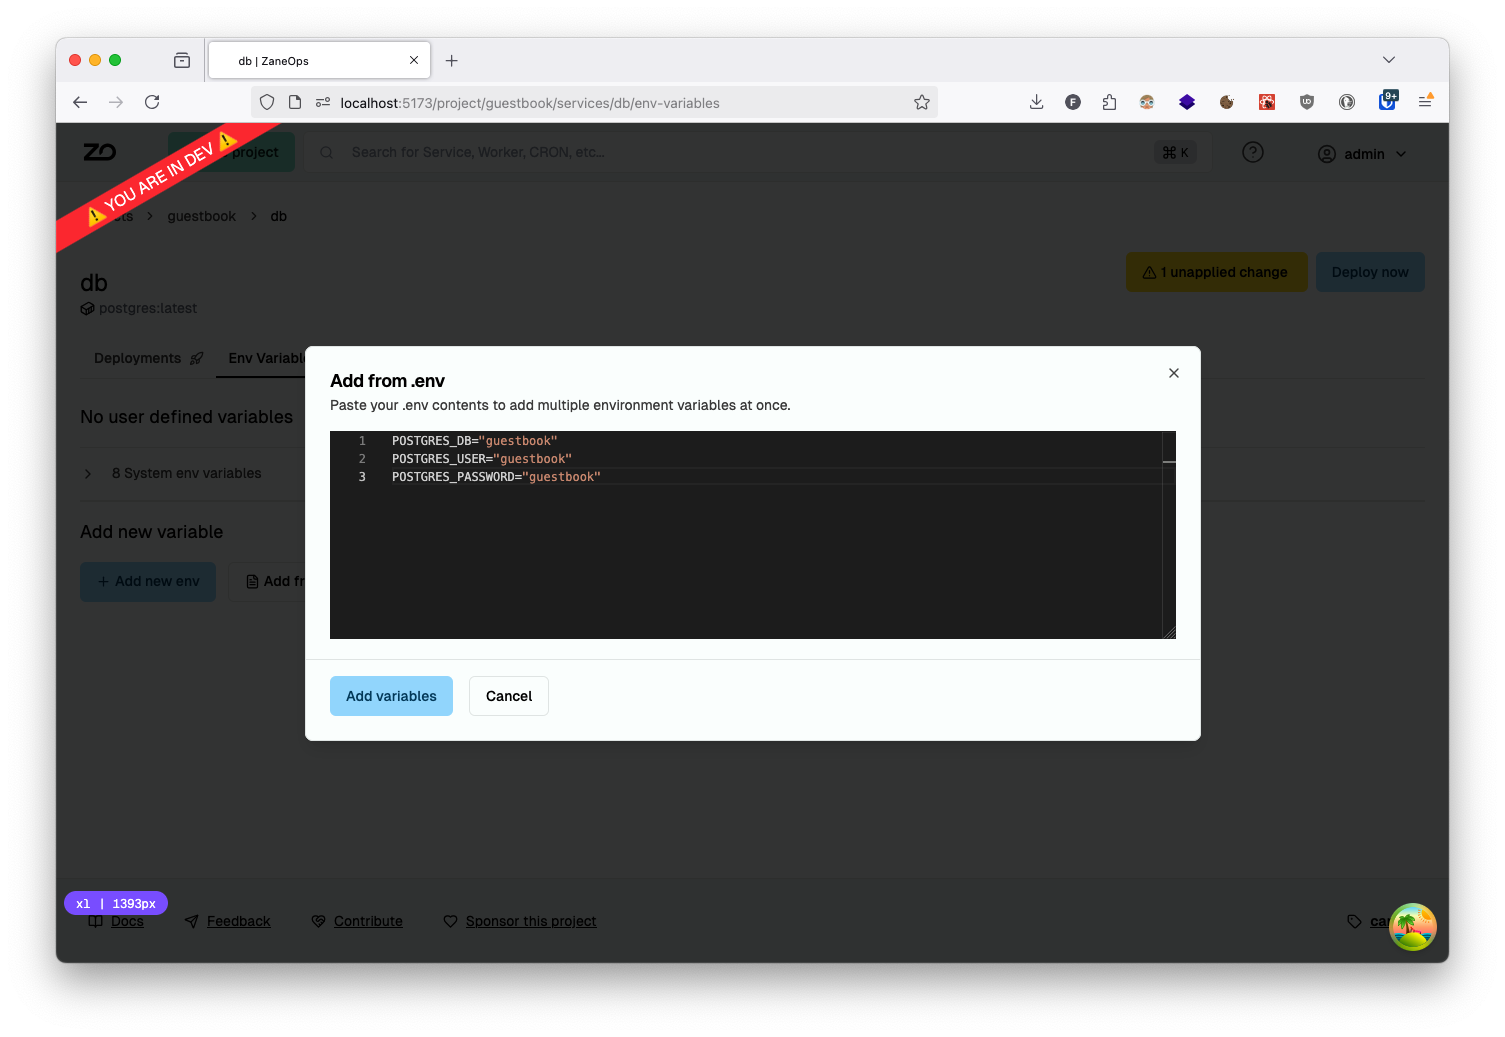
-
Configure data persistence by adding a volume in the settings tab set it’s container path to
/var/lib/postgresql/data: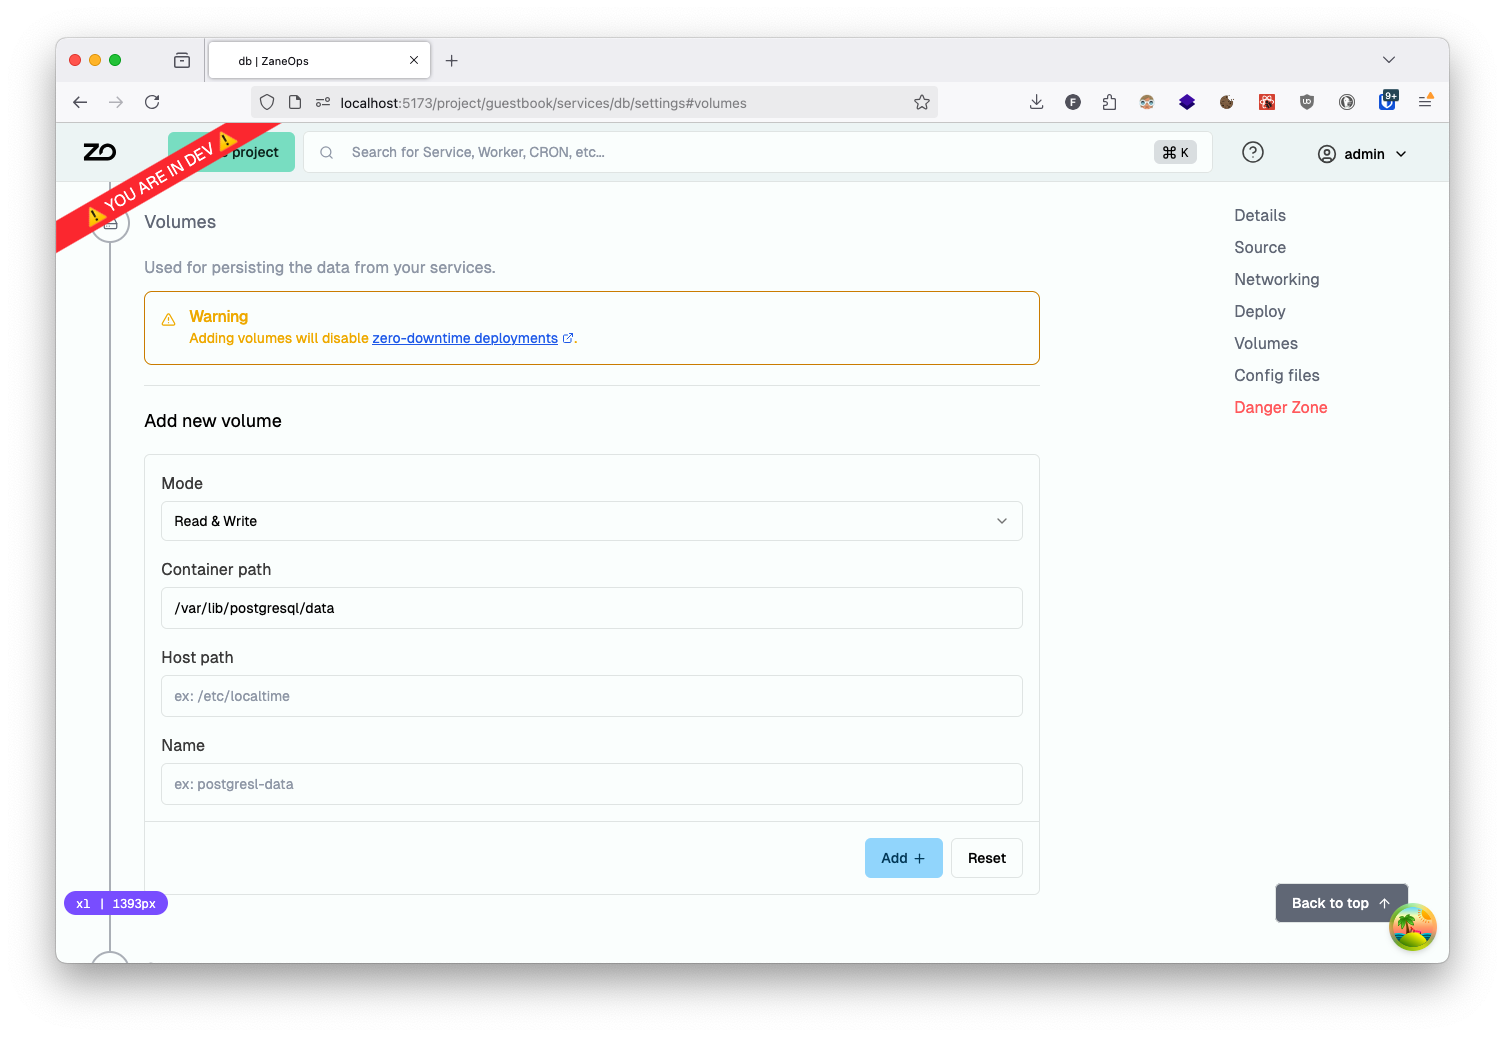
-
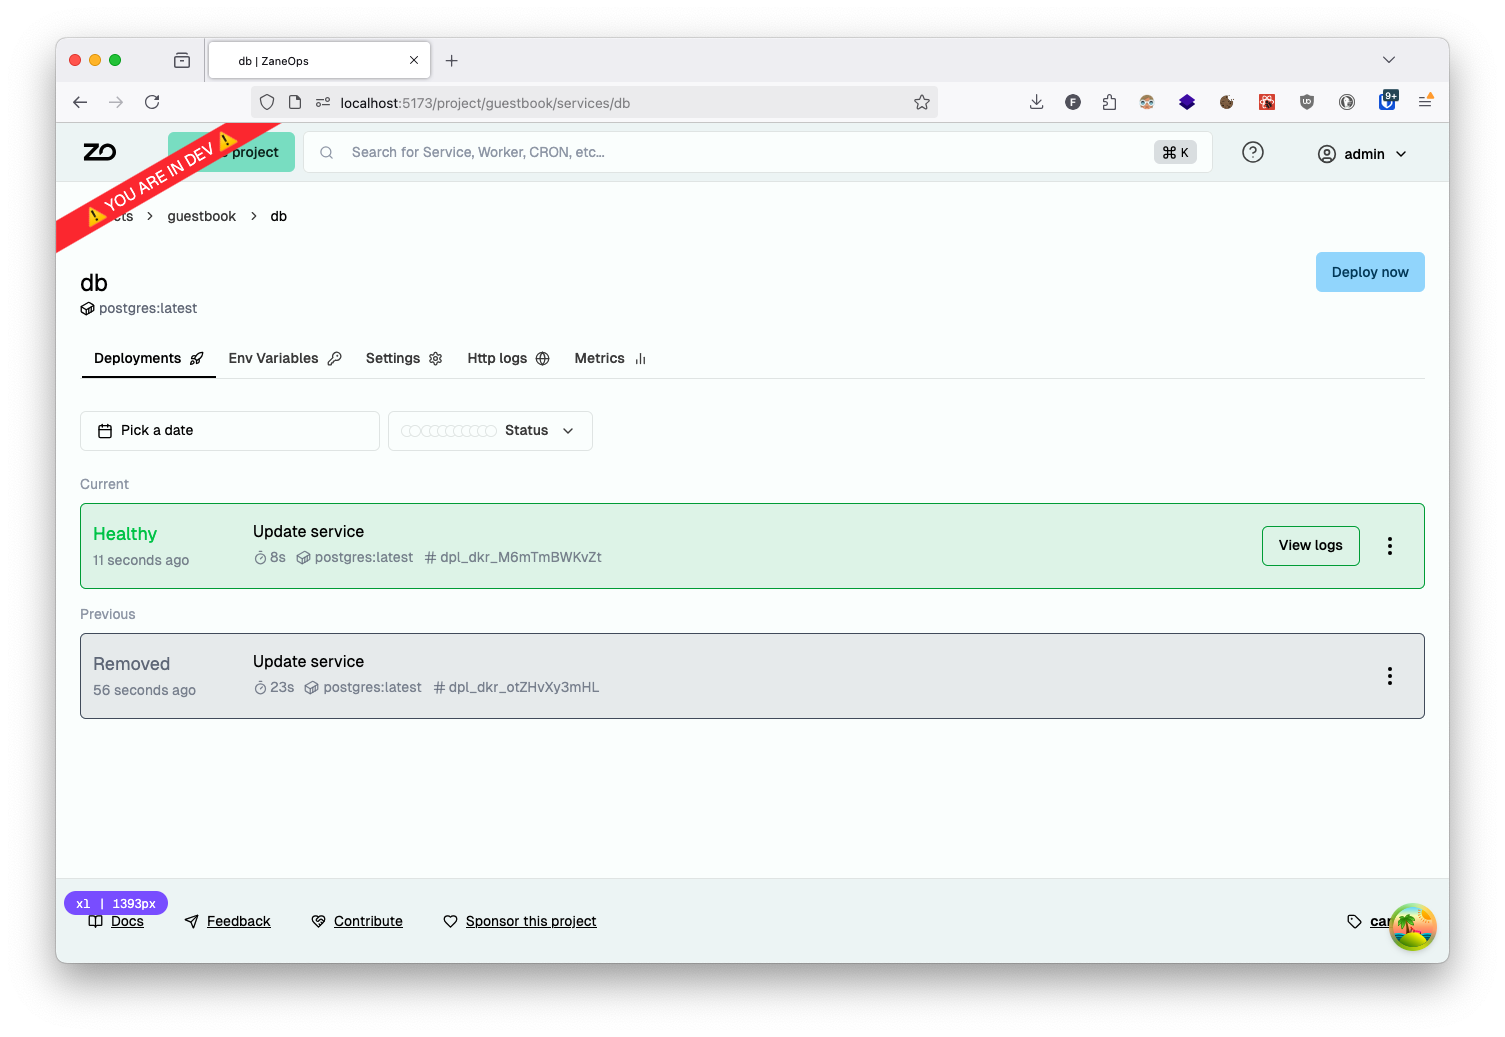
Review your configuration and deploy the service:
Deploying the Main Application
Section titled “Deploying the Main Application”Now let’s deploy the guestbook application itself:
-
Create a new Git service using the repository url
https://github.com/zane-ops/guestbook: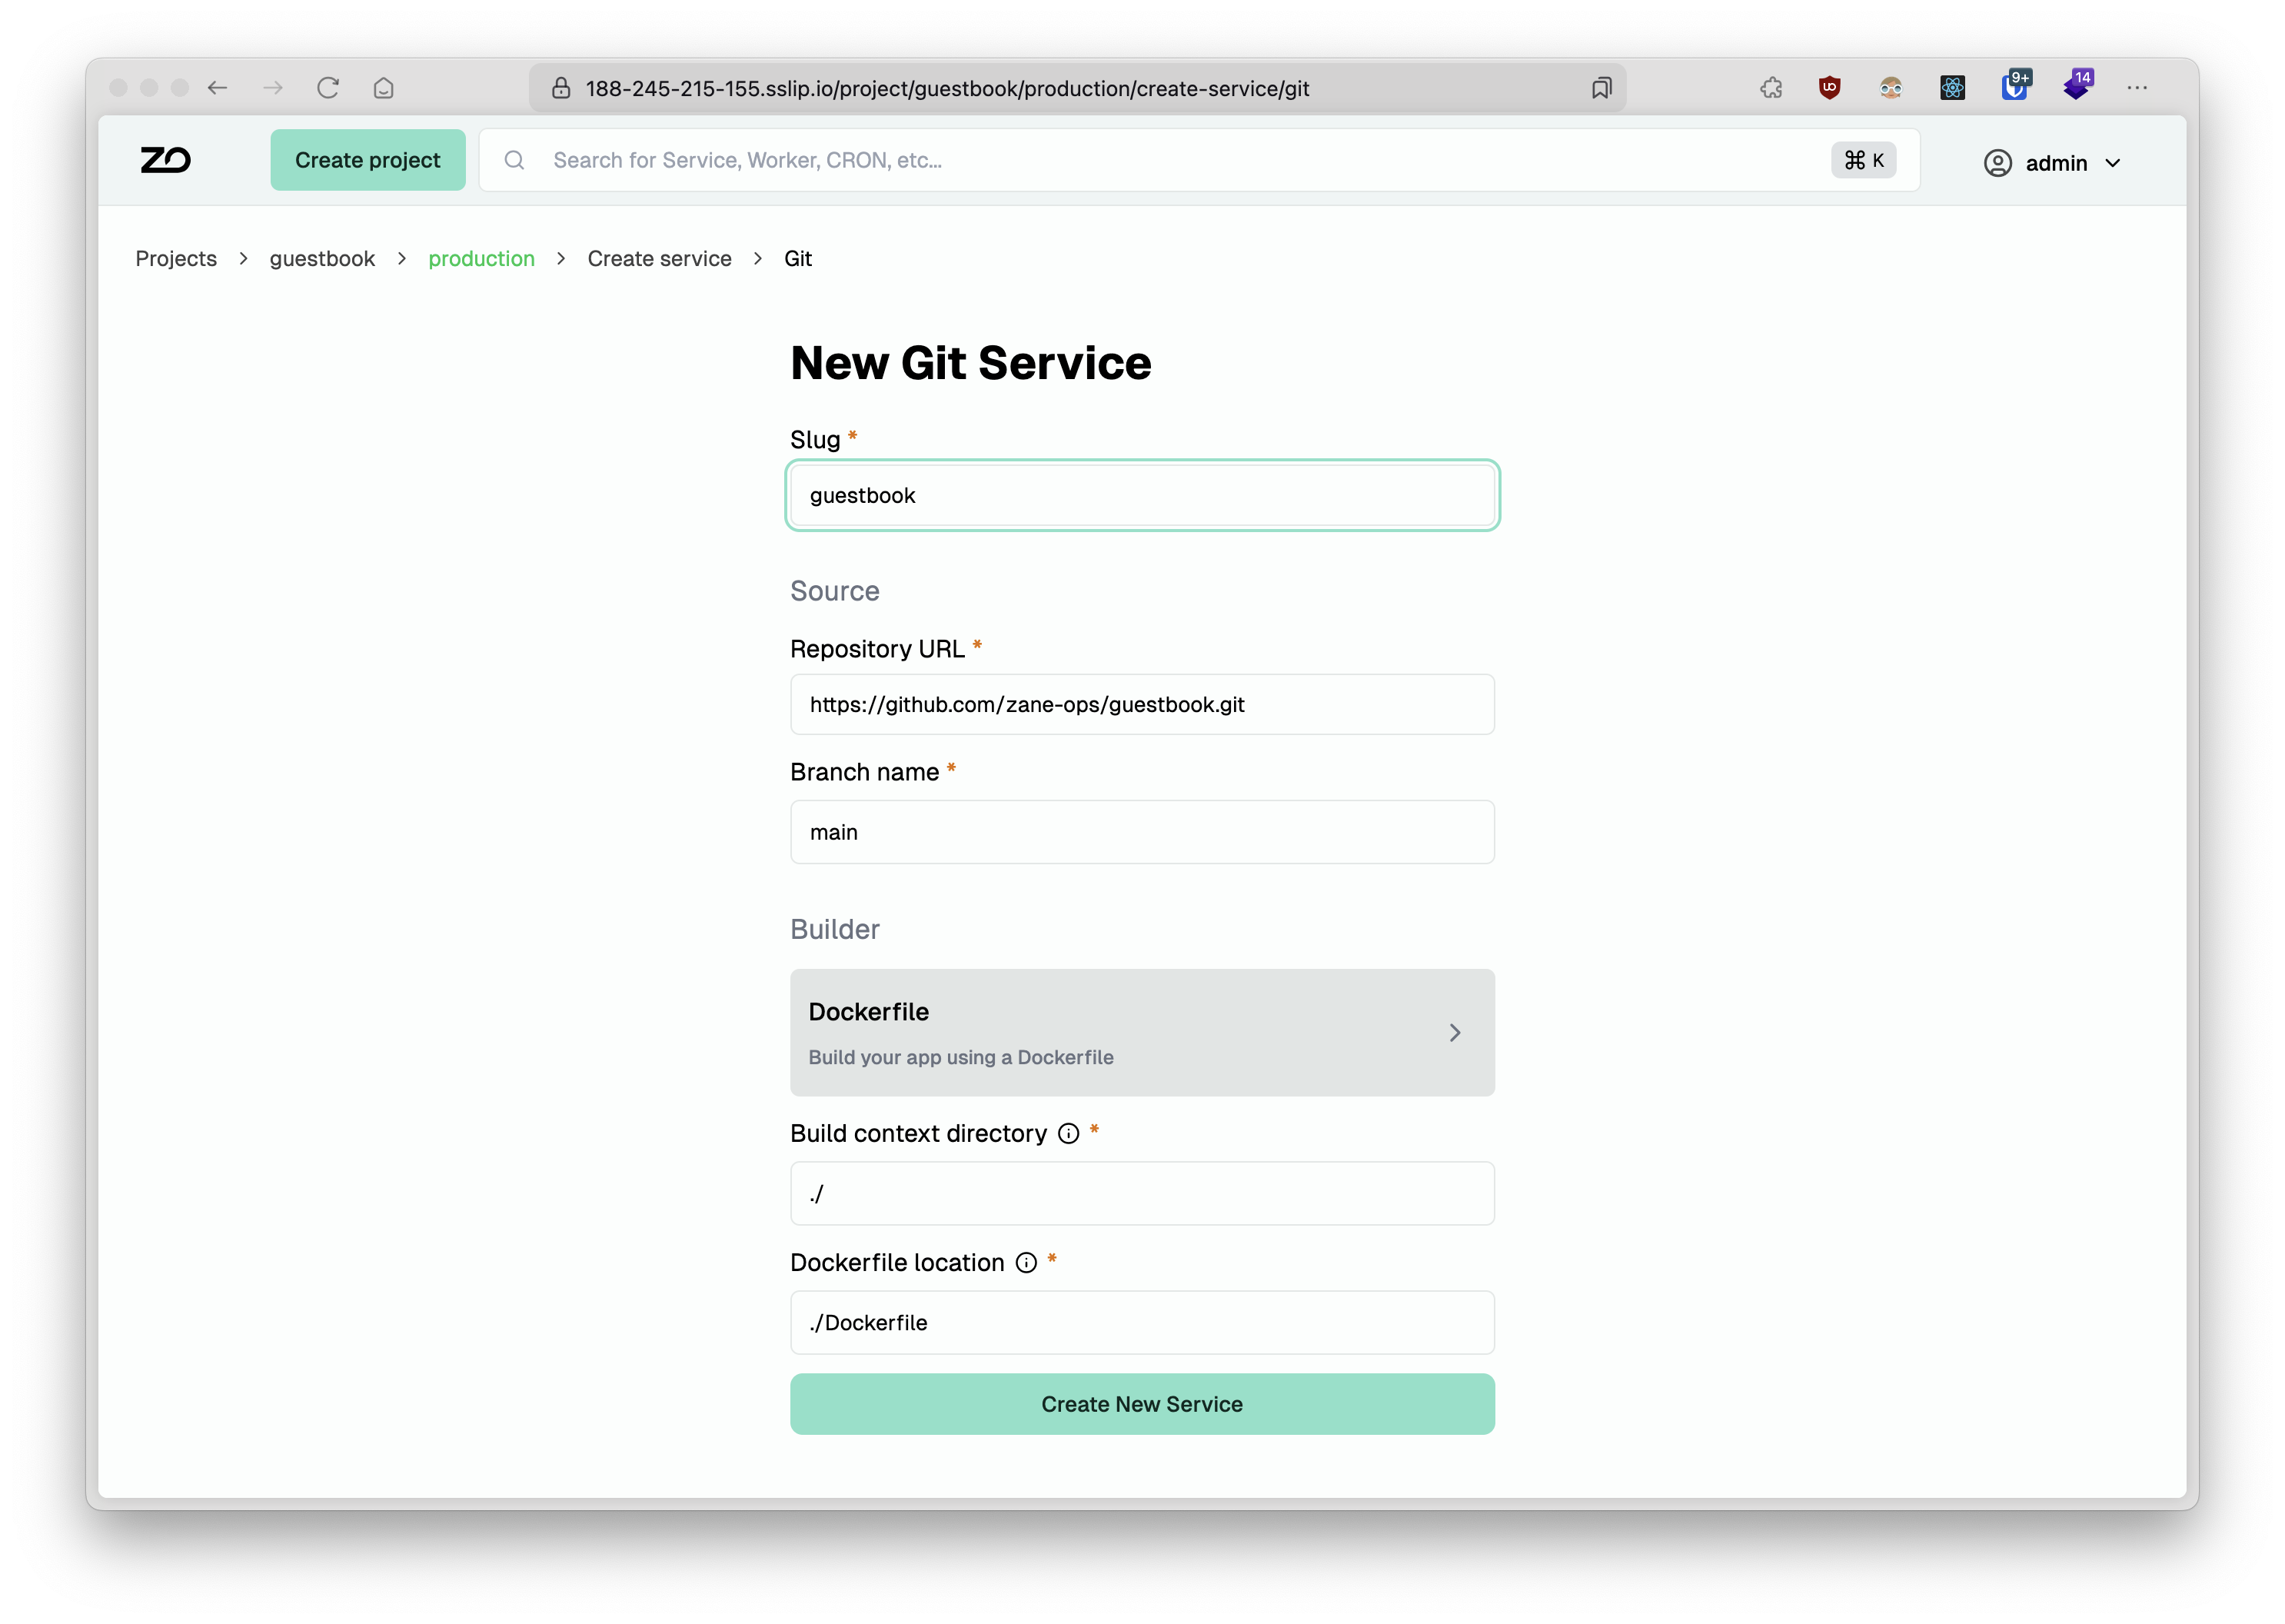
-
Configure the authentication environment variables:
Terminal window SESSION_DOMAIN="guestbook.127-0-0-1.sslip.io"SESSION_SECRET="yoursupersecretvalue"SESSION_SECURE="false"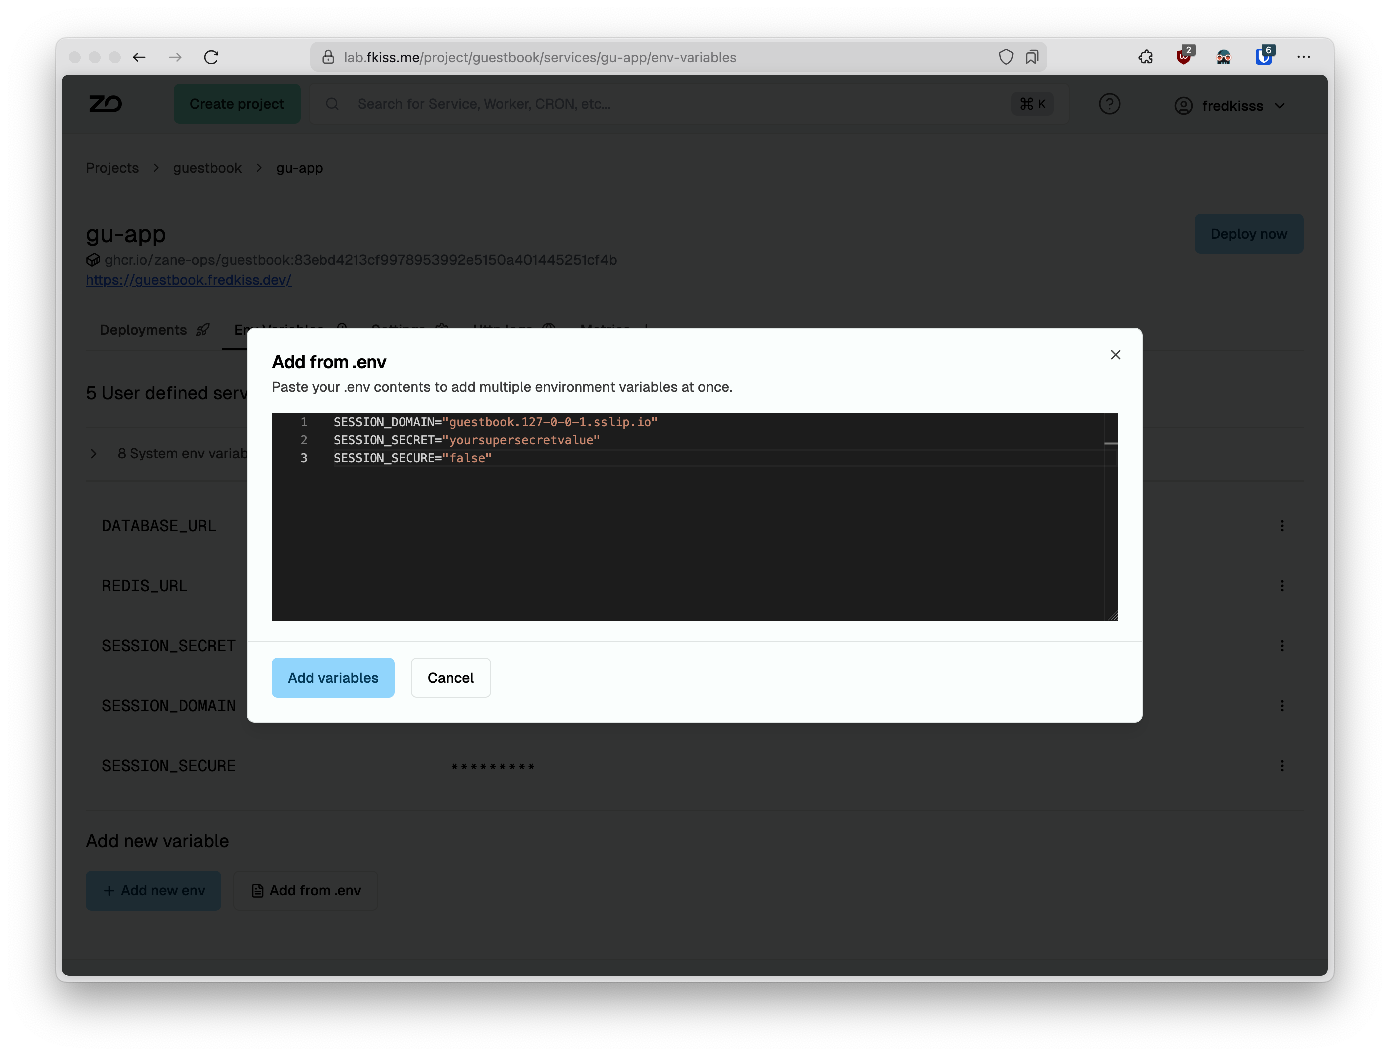
-
Configure database and cache connection strings using service network aliases:
First, locate the Redis network alias on the Redis service details page > settings > Networking section:

Add the Redis connection string as an environment variable:
Terminal window REDIS_URL="redis://<redis_network_alias>:6379"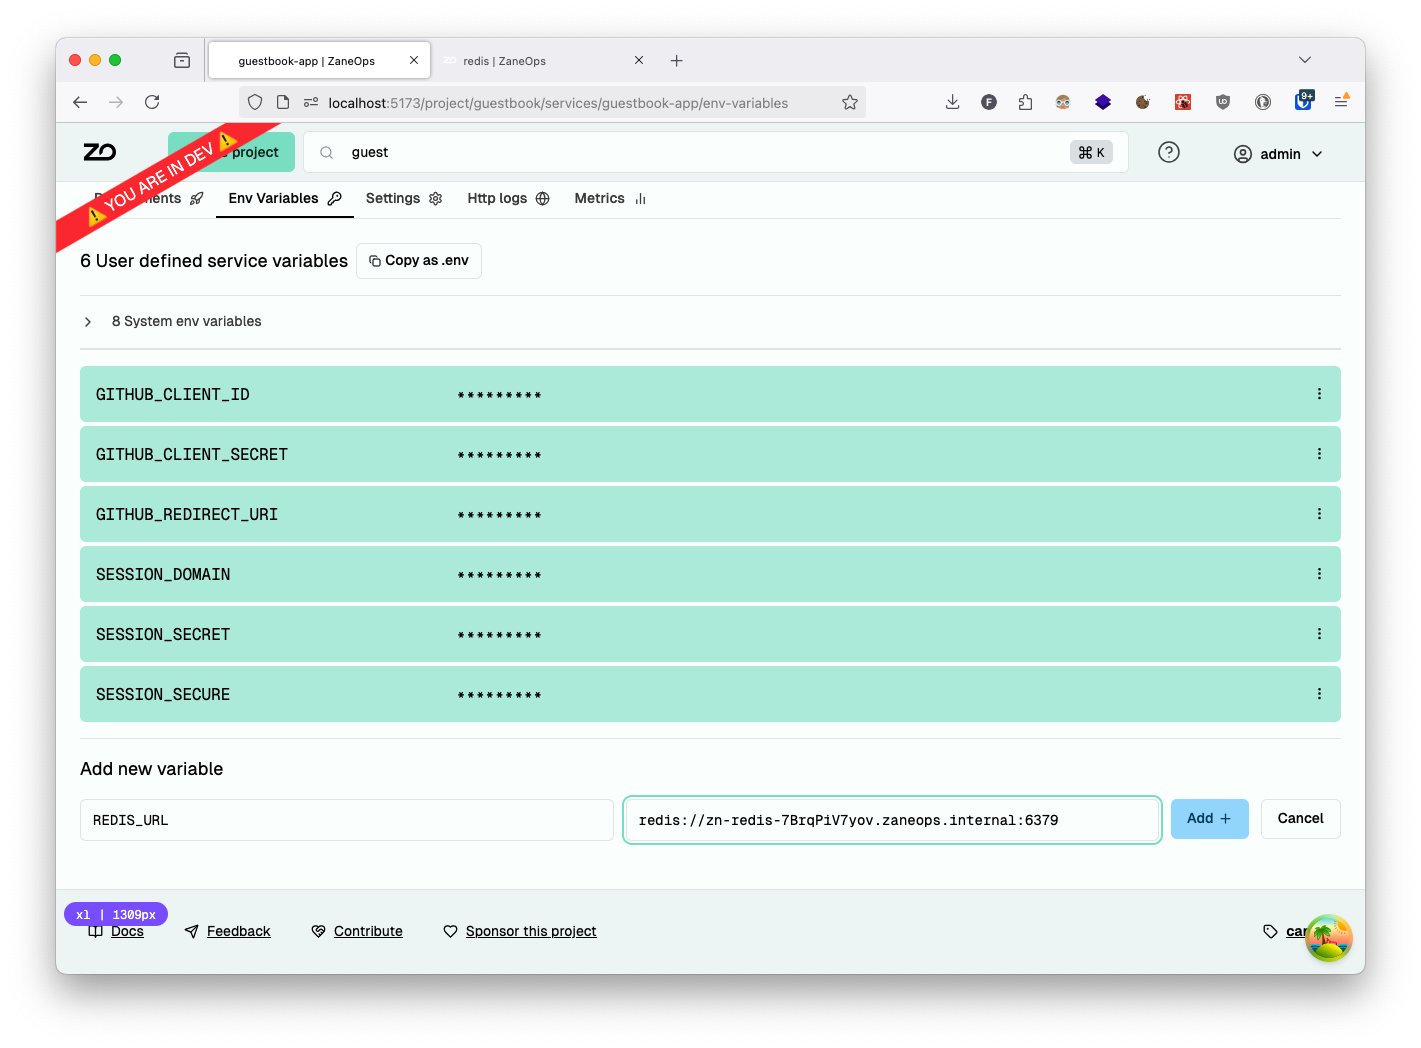
Next, locate the PostgreSQL network alias on the PostgreSQL service details page > settings > Networking section:
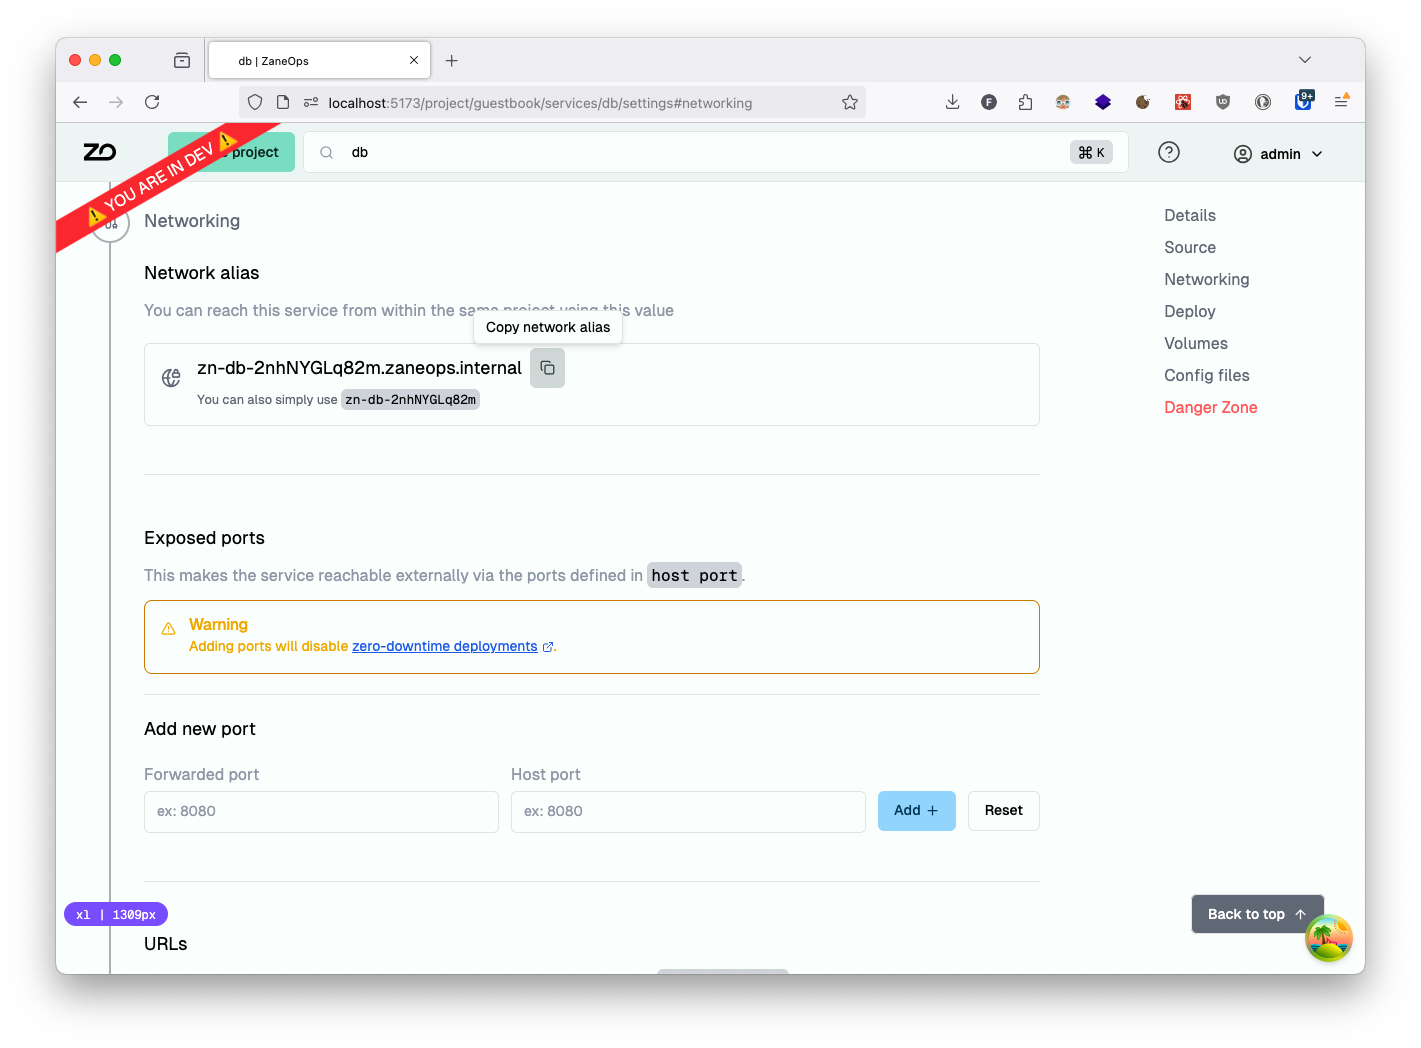
Add the PostgreSQL connection string as an environment variable:
Terminal window DATABASE_URL="postgresql://guestbook:guestbook@<postgres_network_alias>:5432/guestbook"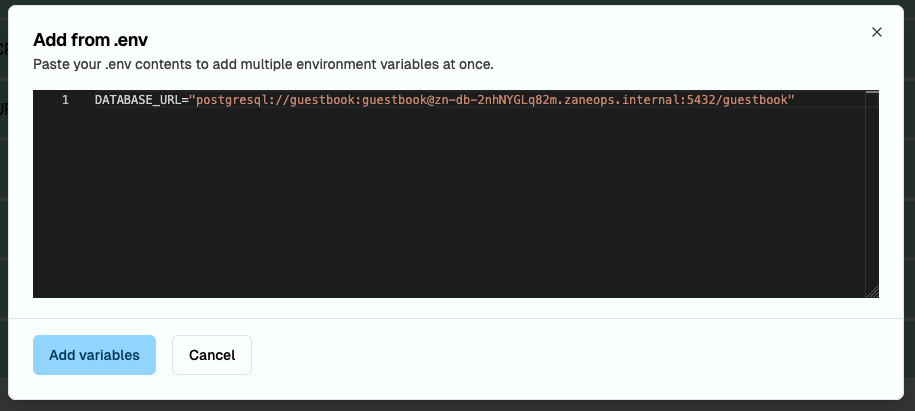
-
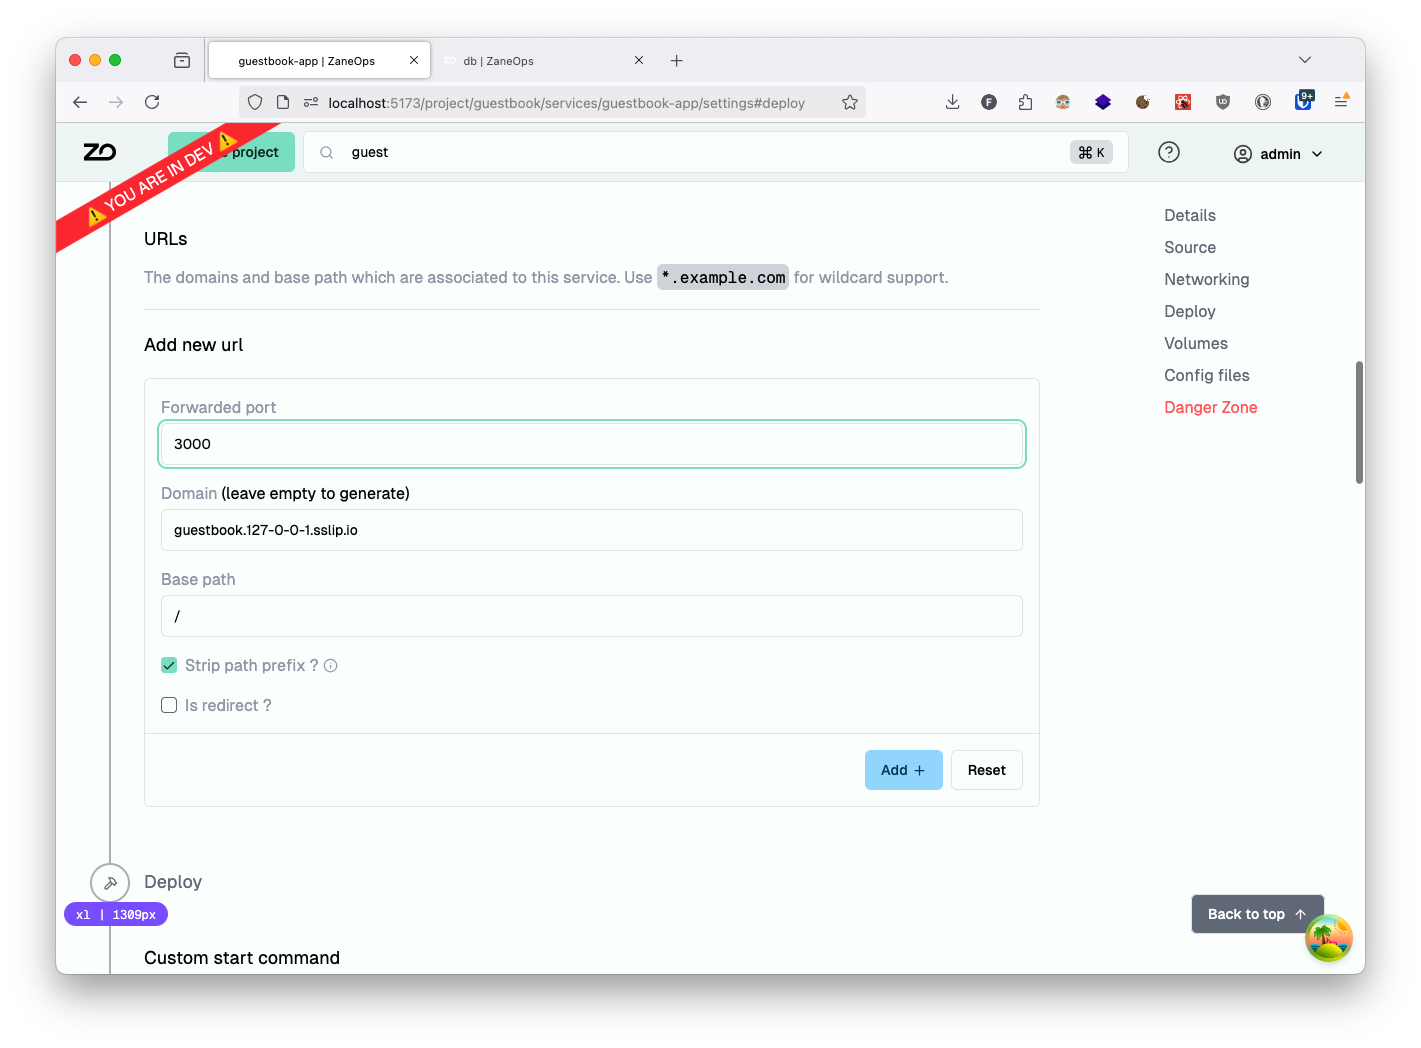
Configure public access by adding a domain: Navigate to the service details page > settings > Networking section > URLS and create a URL entry with:
- Domain:
guestbook.127-0-0-1.sslip.io - Forwarded port:
3000(the application’s listening port)
- Domain:
-
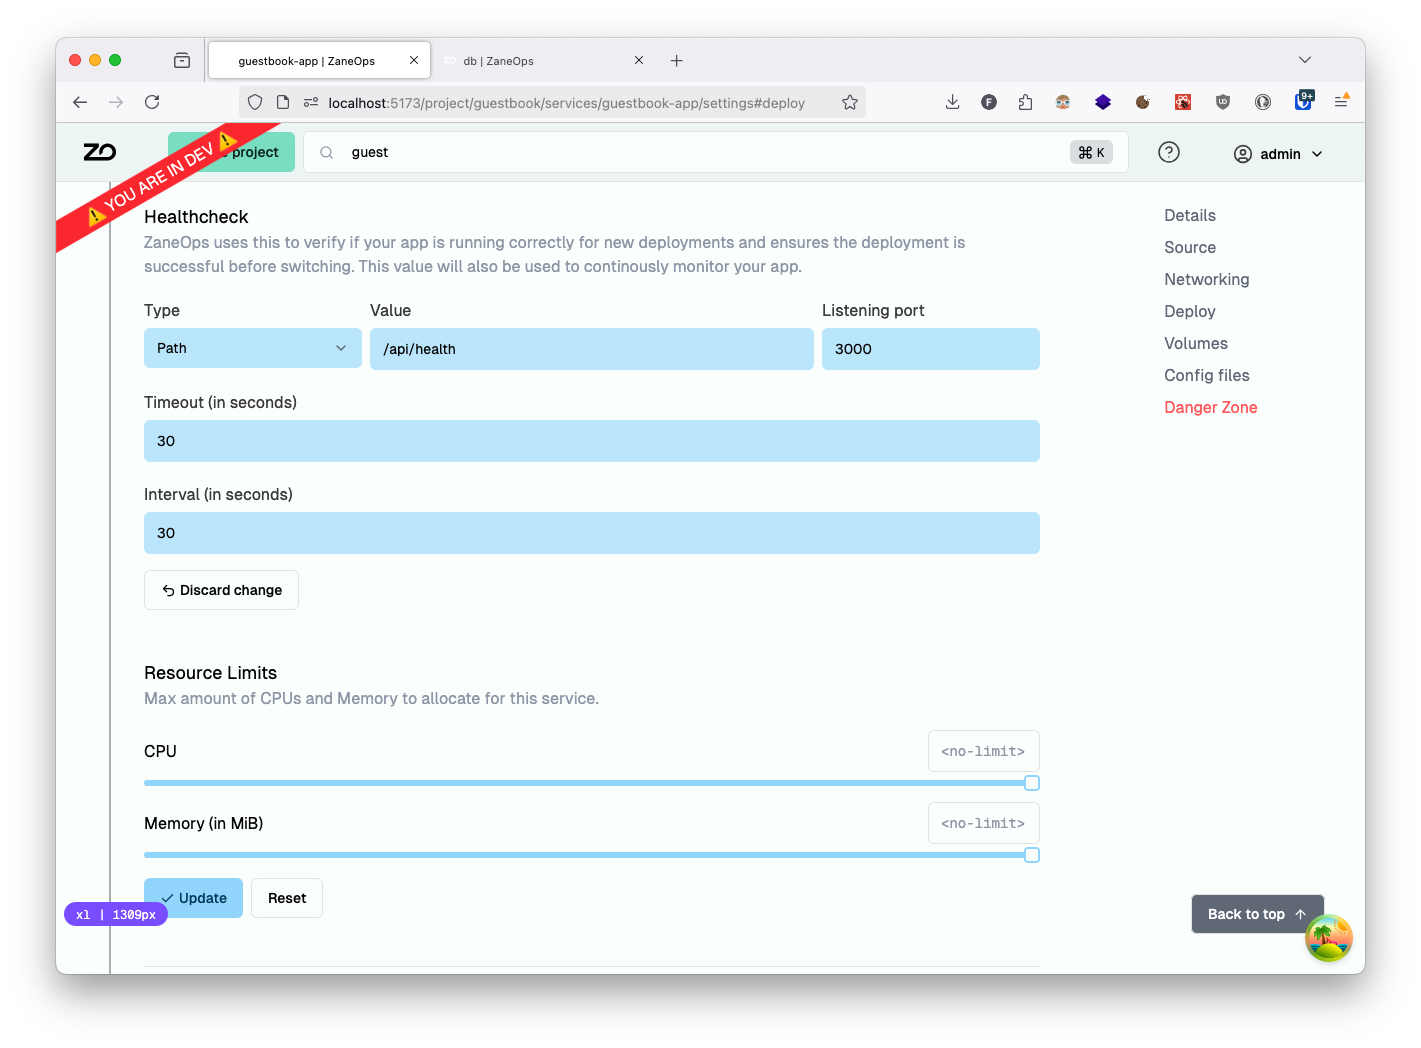
Implement a health check to ensure reliable deployments: Navigate to service details page > settings > Deploy section > Healthcheck and configure:
- Type:
Path - Value:
/api/health - Listening port:
3000
- Type:
-
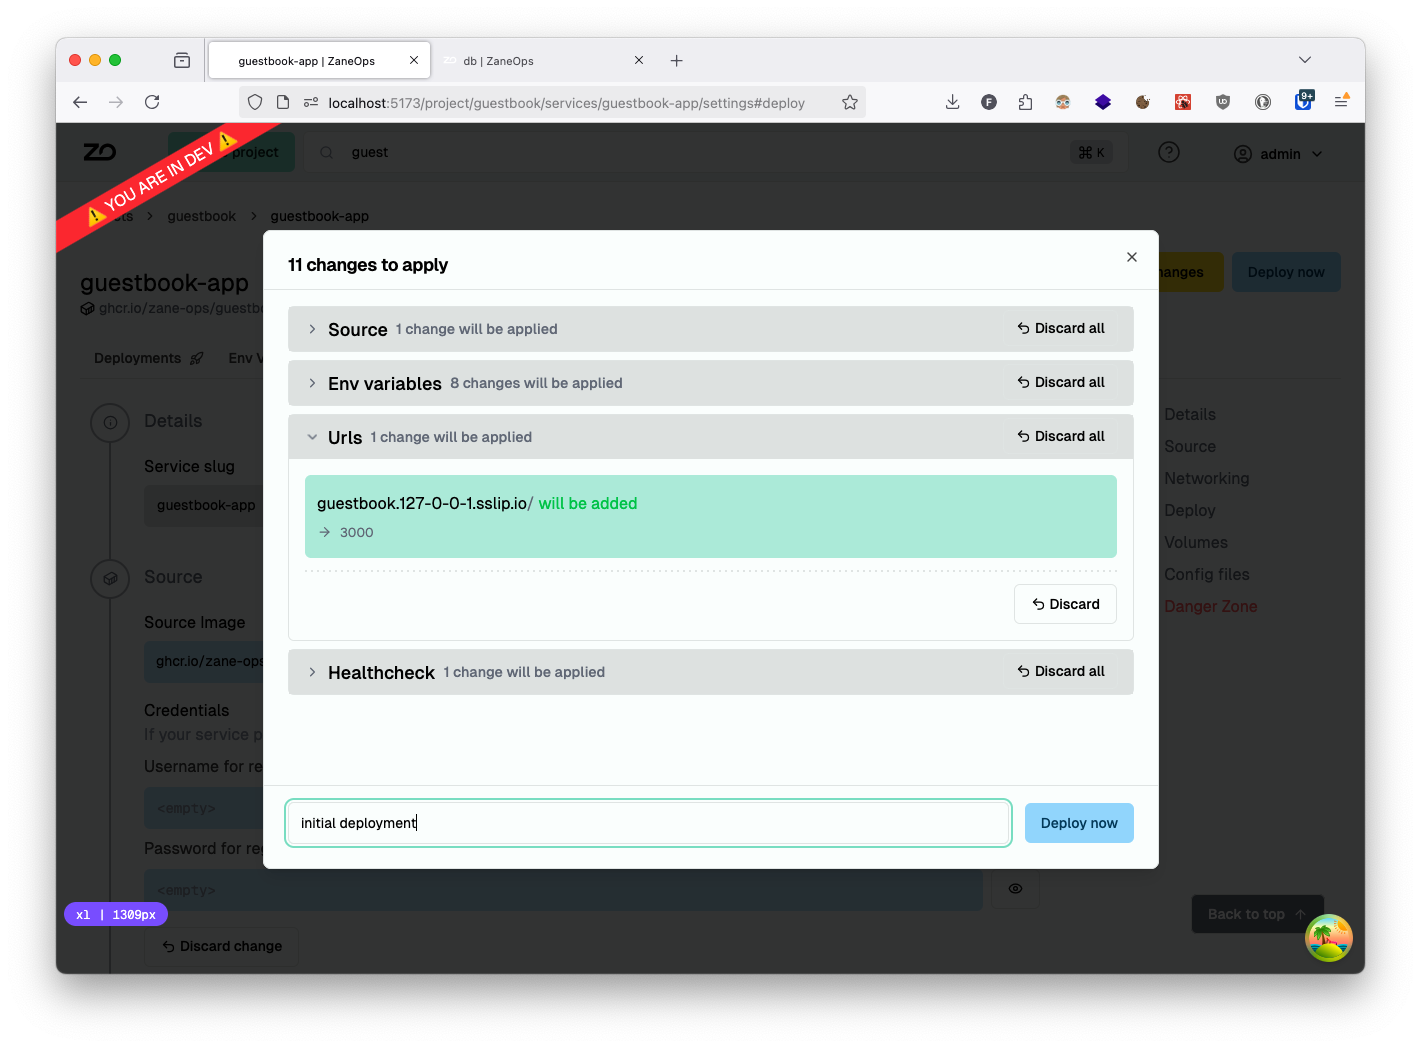
Review all configuration changes and deploy the service:
-
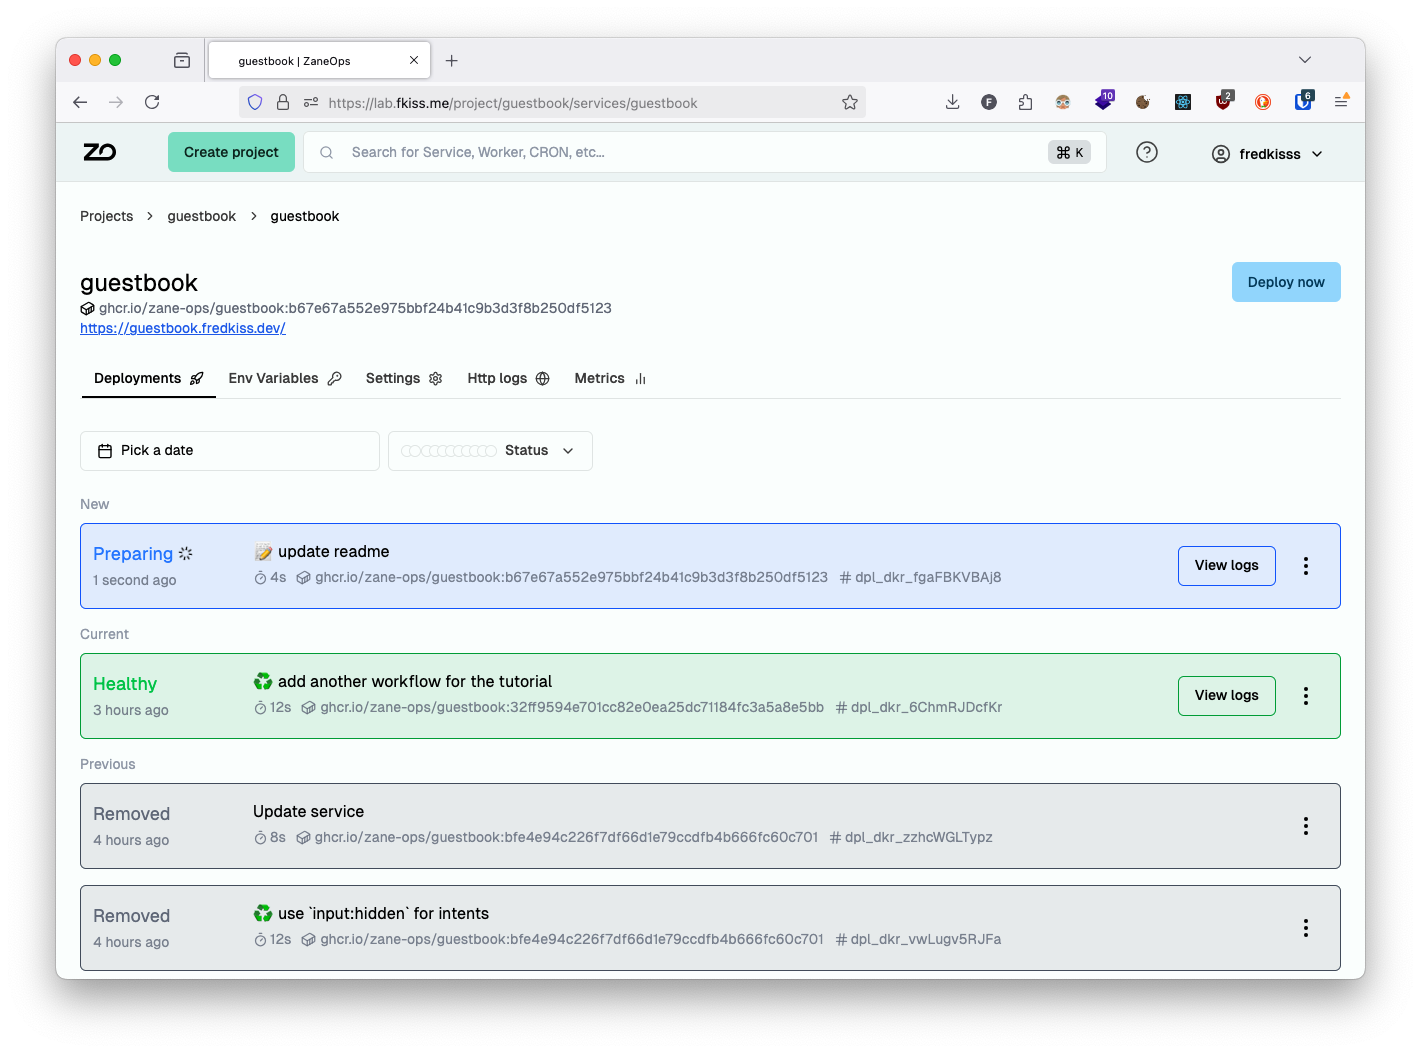
Monitor the deployment logs to ensure everything is working correctly:


-
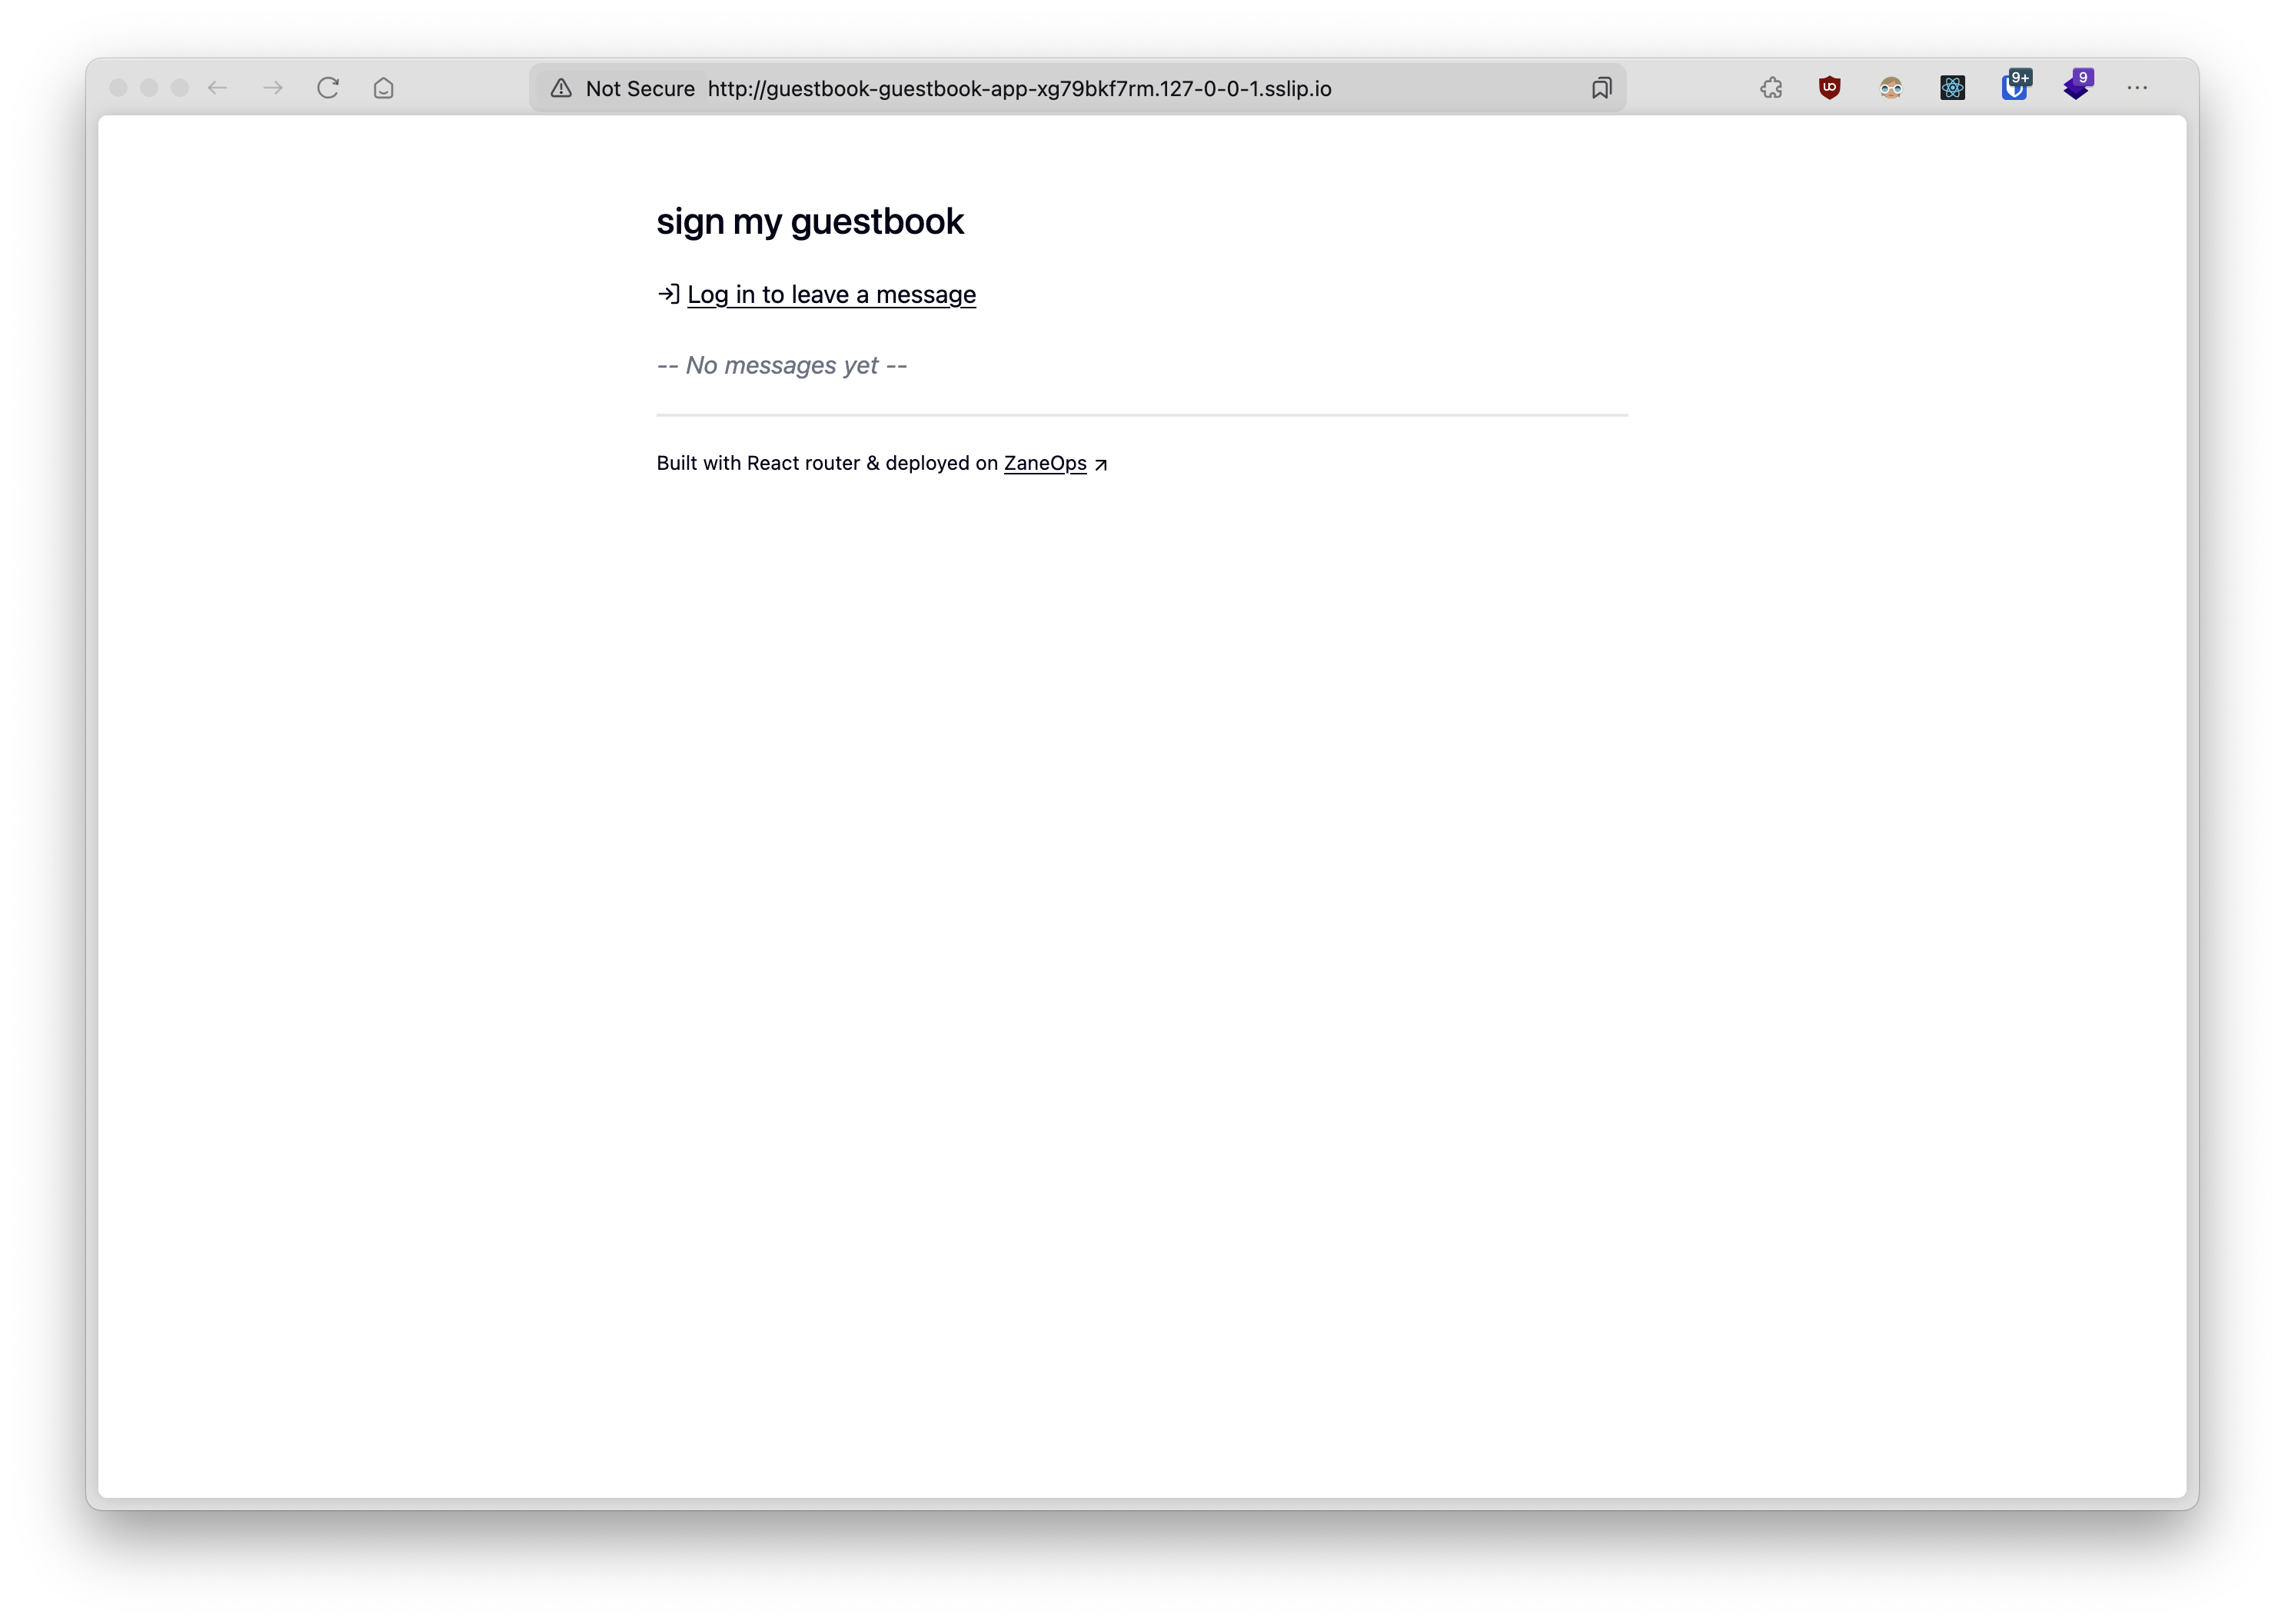
Once deployed successfully, your application will be available at http://guestbook.127-0-0-1.sslip.io
Setting Up Continuous Deployment
Section titled “Setting Up Continuous Deployment”Automate your deployment workflow with GitHub Actions to update your application whenever changes are pushed to your repository:
-
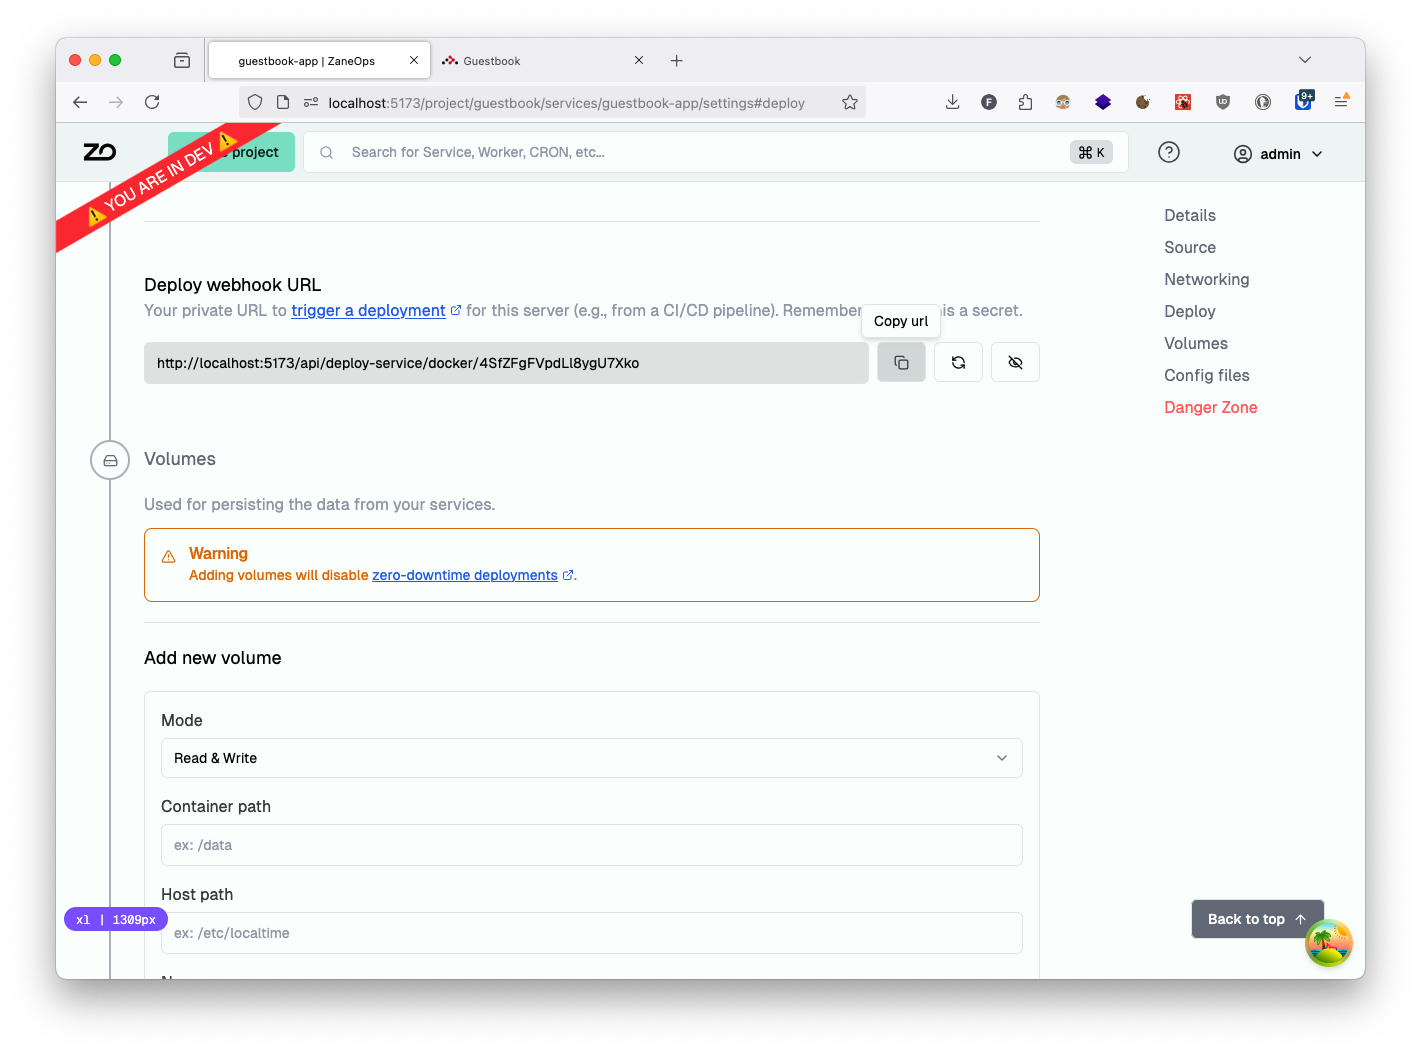
Get your ZaneOps deployment webhook URL: Navigate to main app service details page > settings > Deploy section > deploy webhook url
-
Store your secrets in GitHub: Navigate to GitHub repository > settings > secrets and variables > actions and add:
DEPLOY_WEBHOOK_URL: Your ZaneOps webhook URL
-
Create a GitHub Actions workflow file in your repository:
.github/workflows/ci.yaml name: Deployon:push:branches: [main] # customize as neededjobs:build-push-app:name: Build and Deploy Guestbookruns-on: ubuntu-lateststeps:- name: Checkoutuses: actions/checkout@v4- name: Deploy to ZaneOpsrun: curl -f -o /dev/null -X PUT "${{ secrets.DEPLOY_WEBHOOK_URL }}" -
With this workflow in place, changes pushed to your main branch will automatically trigger a new build and deployment